
Making the Anvil Tree Stump
Today, I’ve been working on the anvil’s base, a tree stump made from air-dry clay.
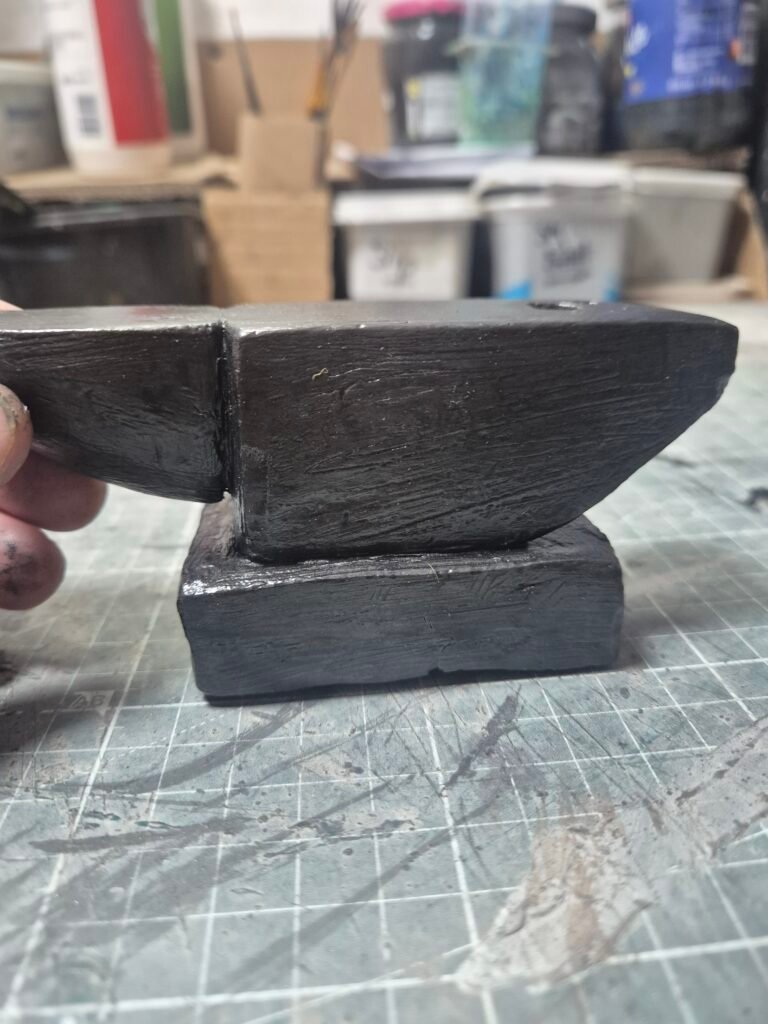
I had a think about what I wanted the anvil to sit on in the blacksmith diorama.
I didn’t want to overdo the metal look by having the anvil sitting on another metal surface, and I also didn’t want to use stone,. as the walls will be stone slabes.
Instead, I wanted to create a bit more contrast, so I decided on a wooden base — and then thought, why not a tree stump?
It fits the blacksmith setting, adds a natural element to the scene and should give the anvil a nice contrast against the rest of the build.
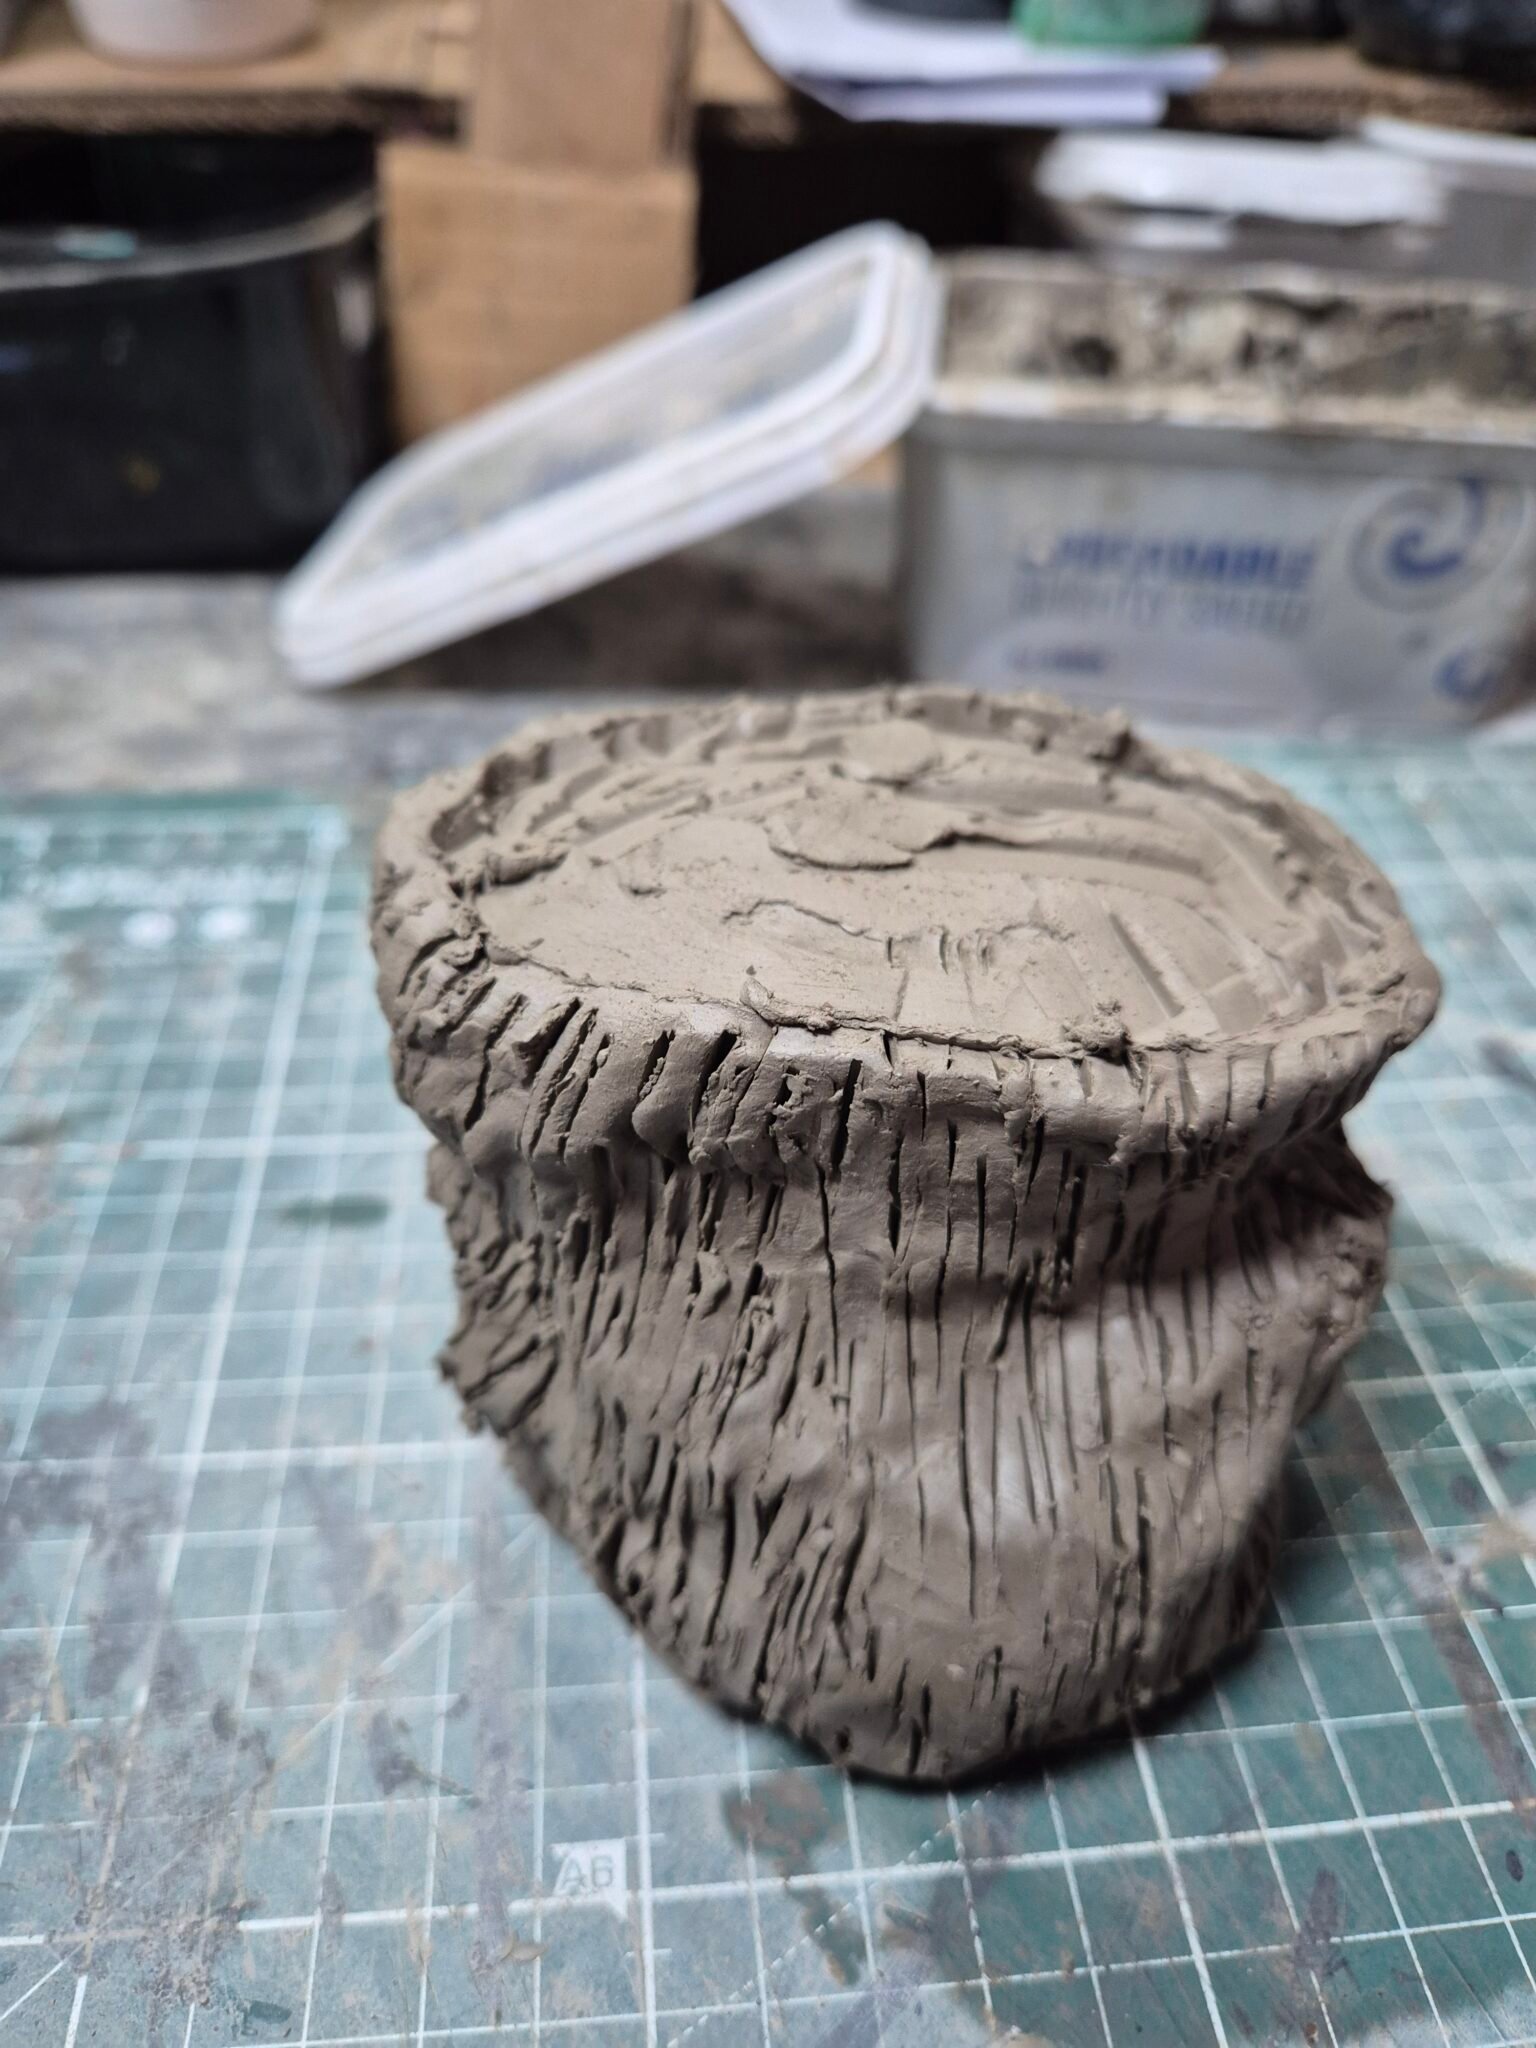
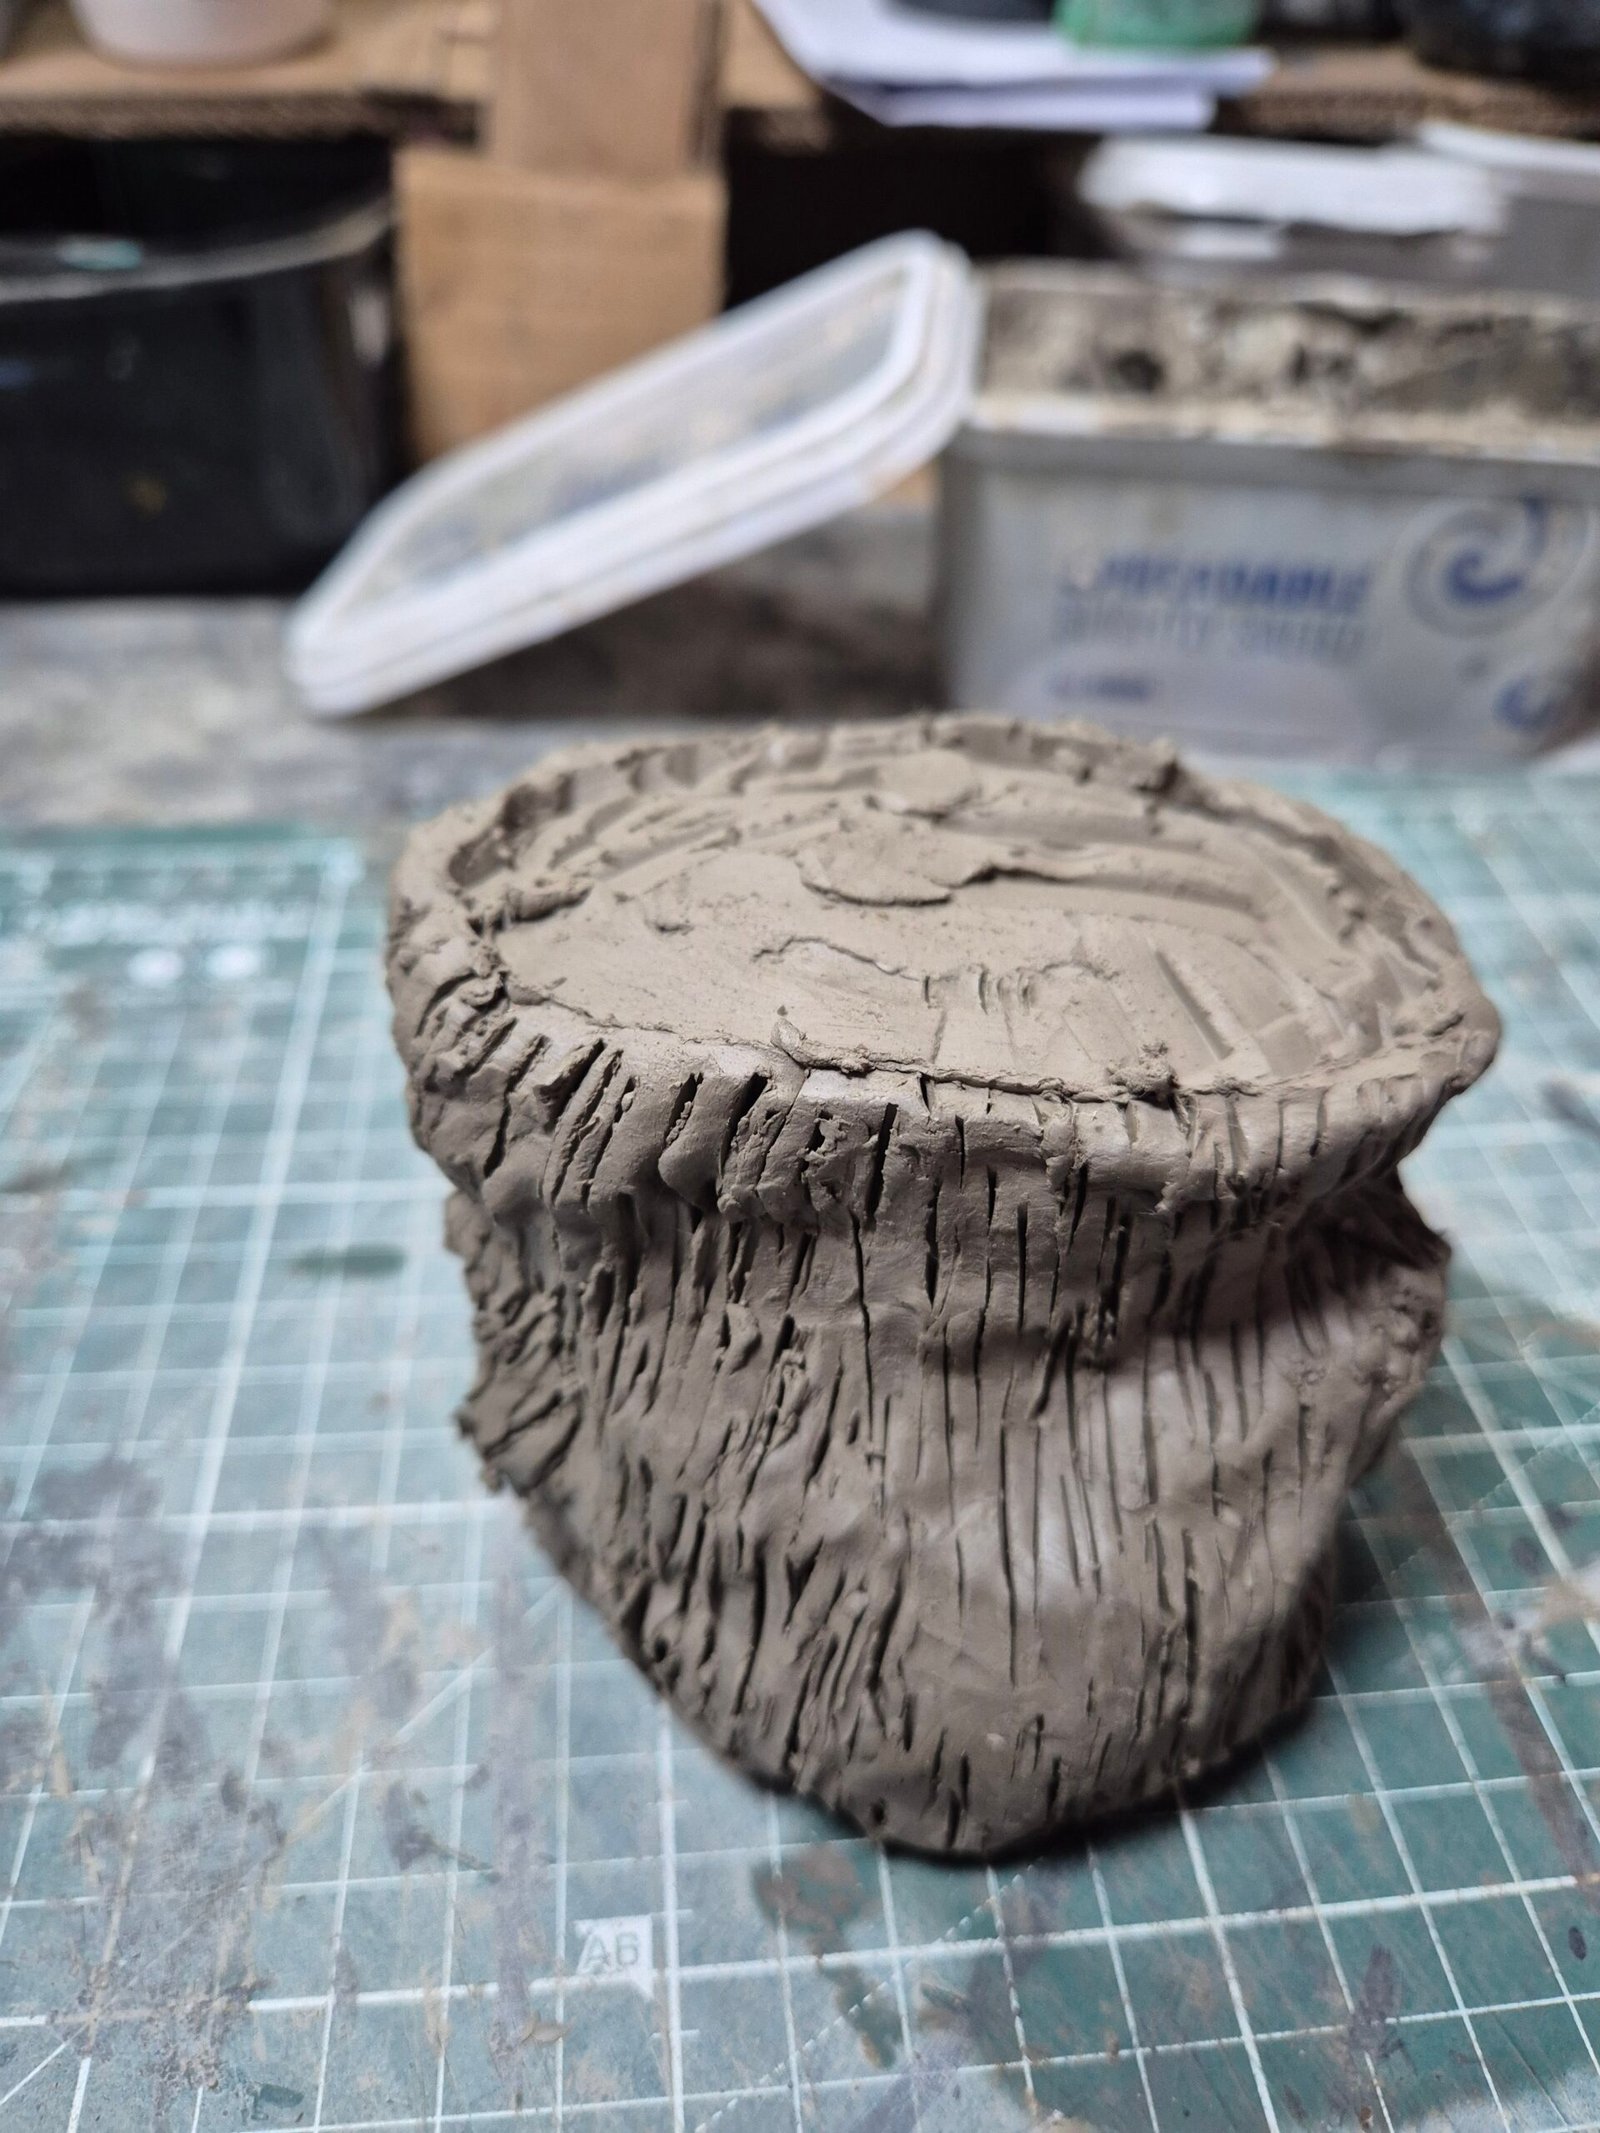
This project involved shaping the clay into a rounded cylinder and then adding the tree and bark details to make it look like an old, weathered stump.
What I Did
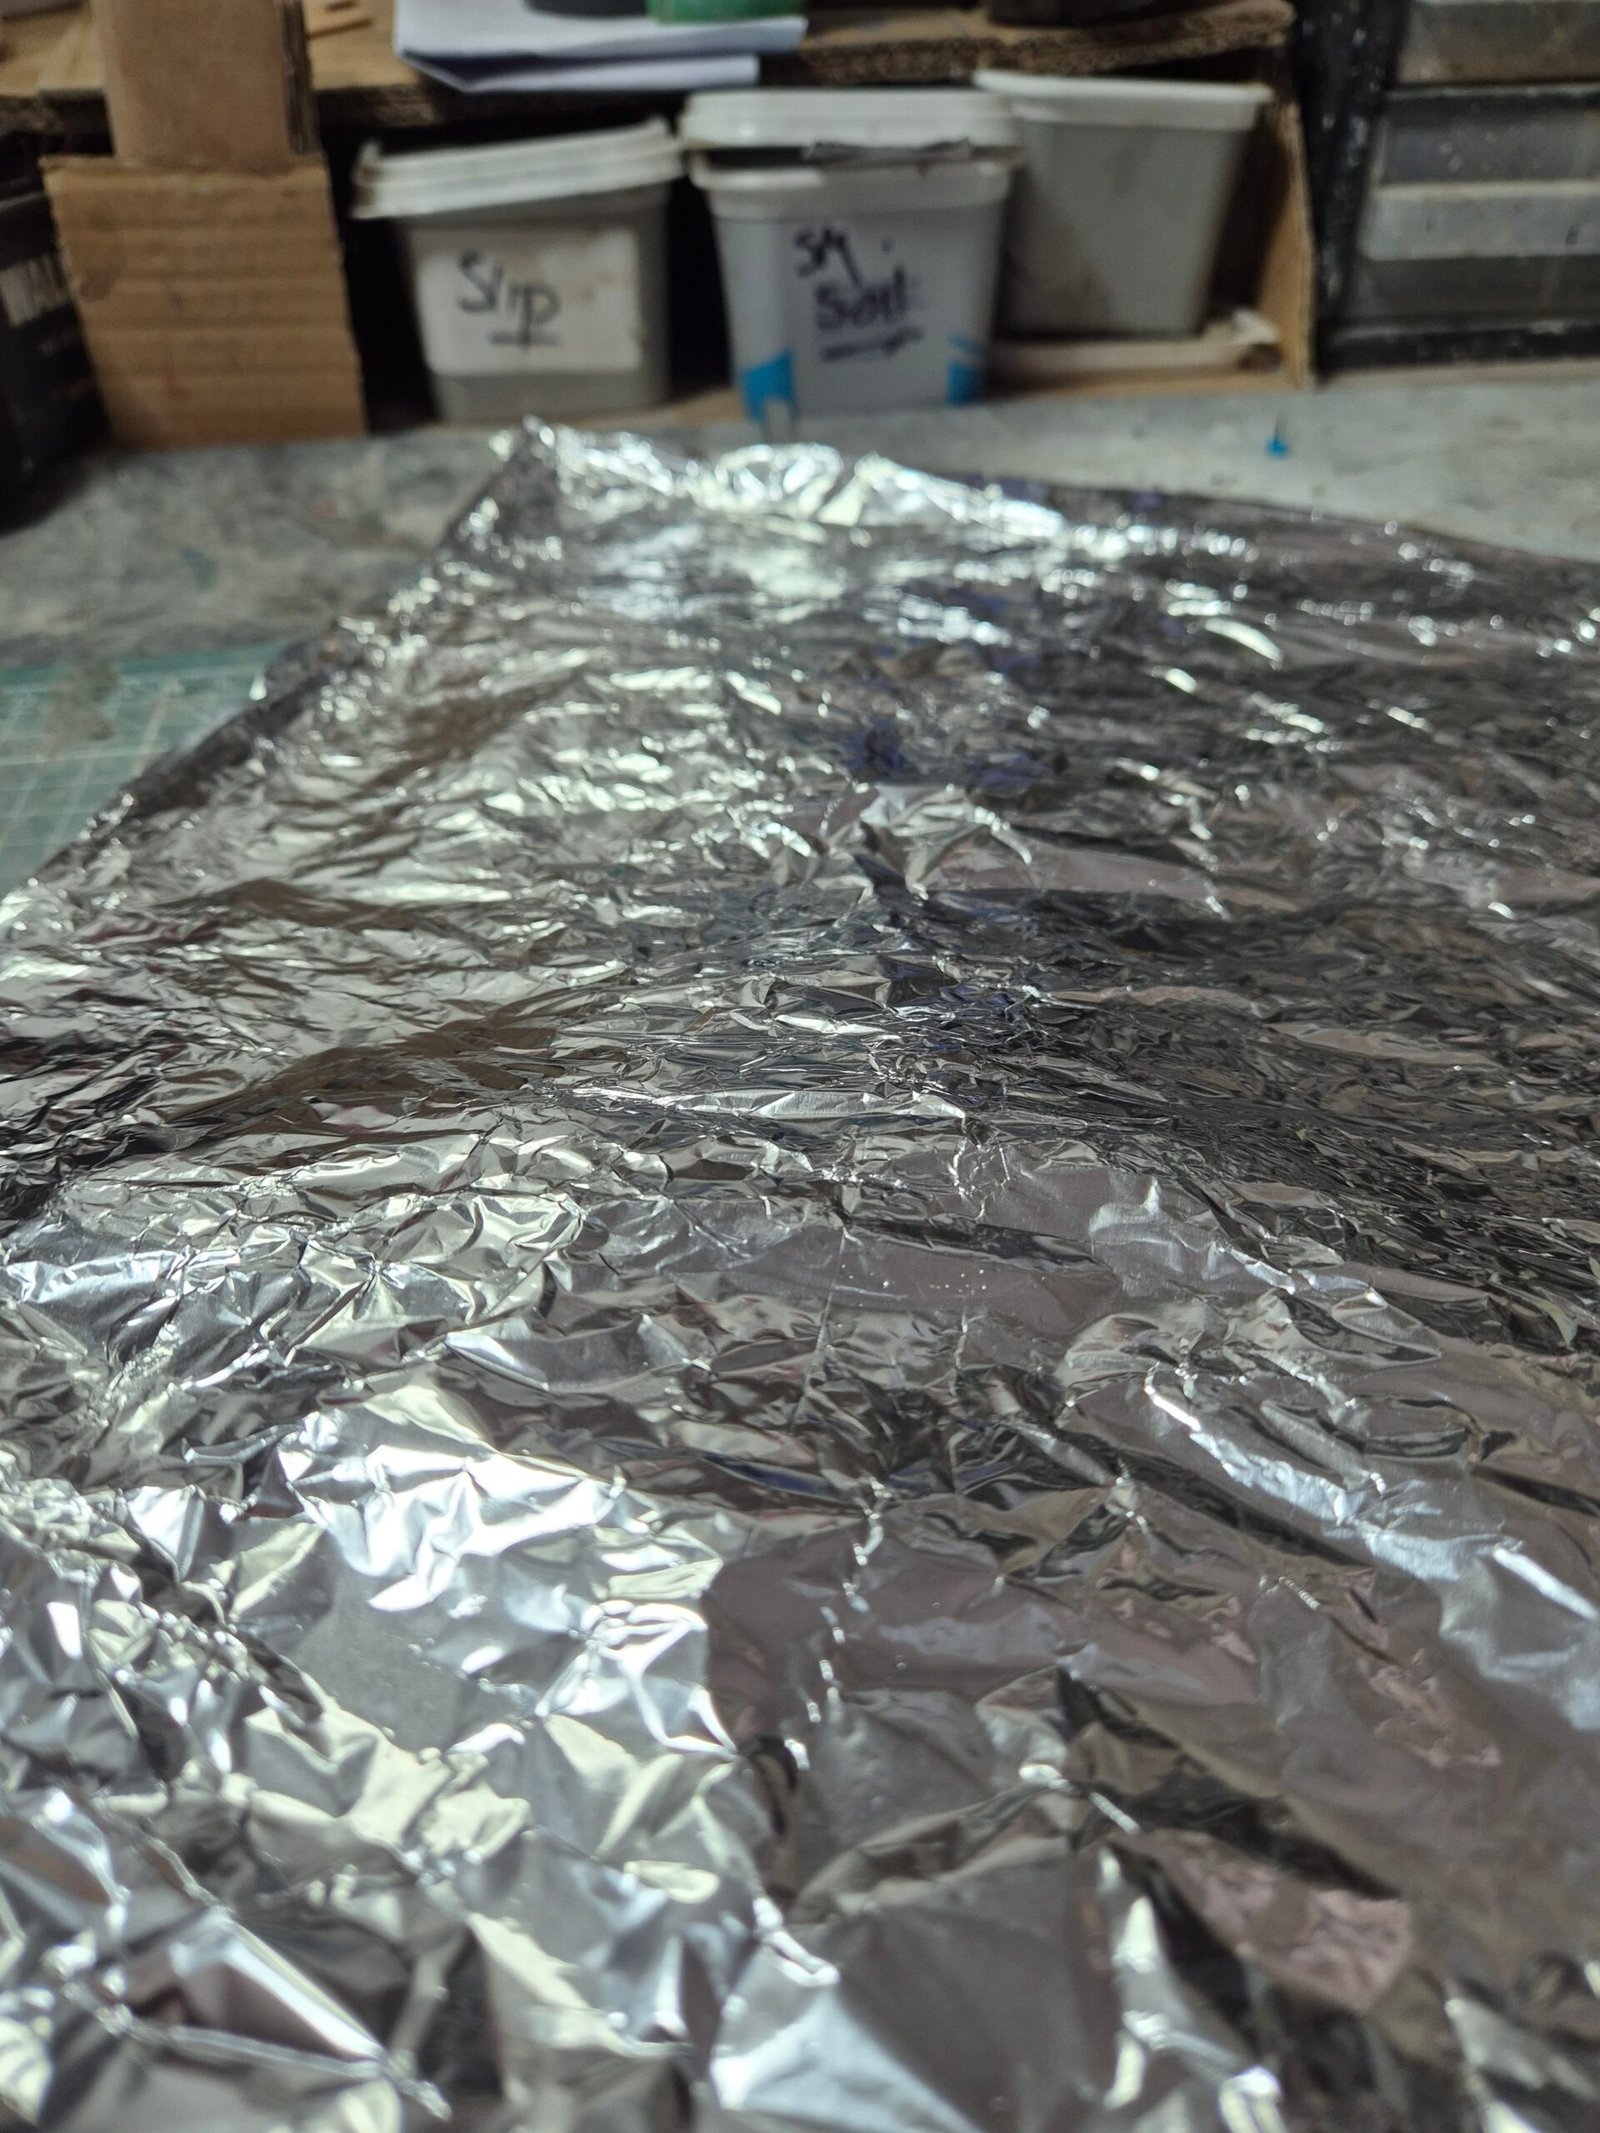
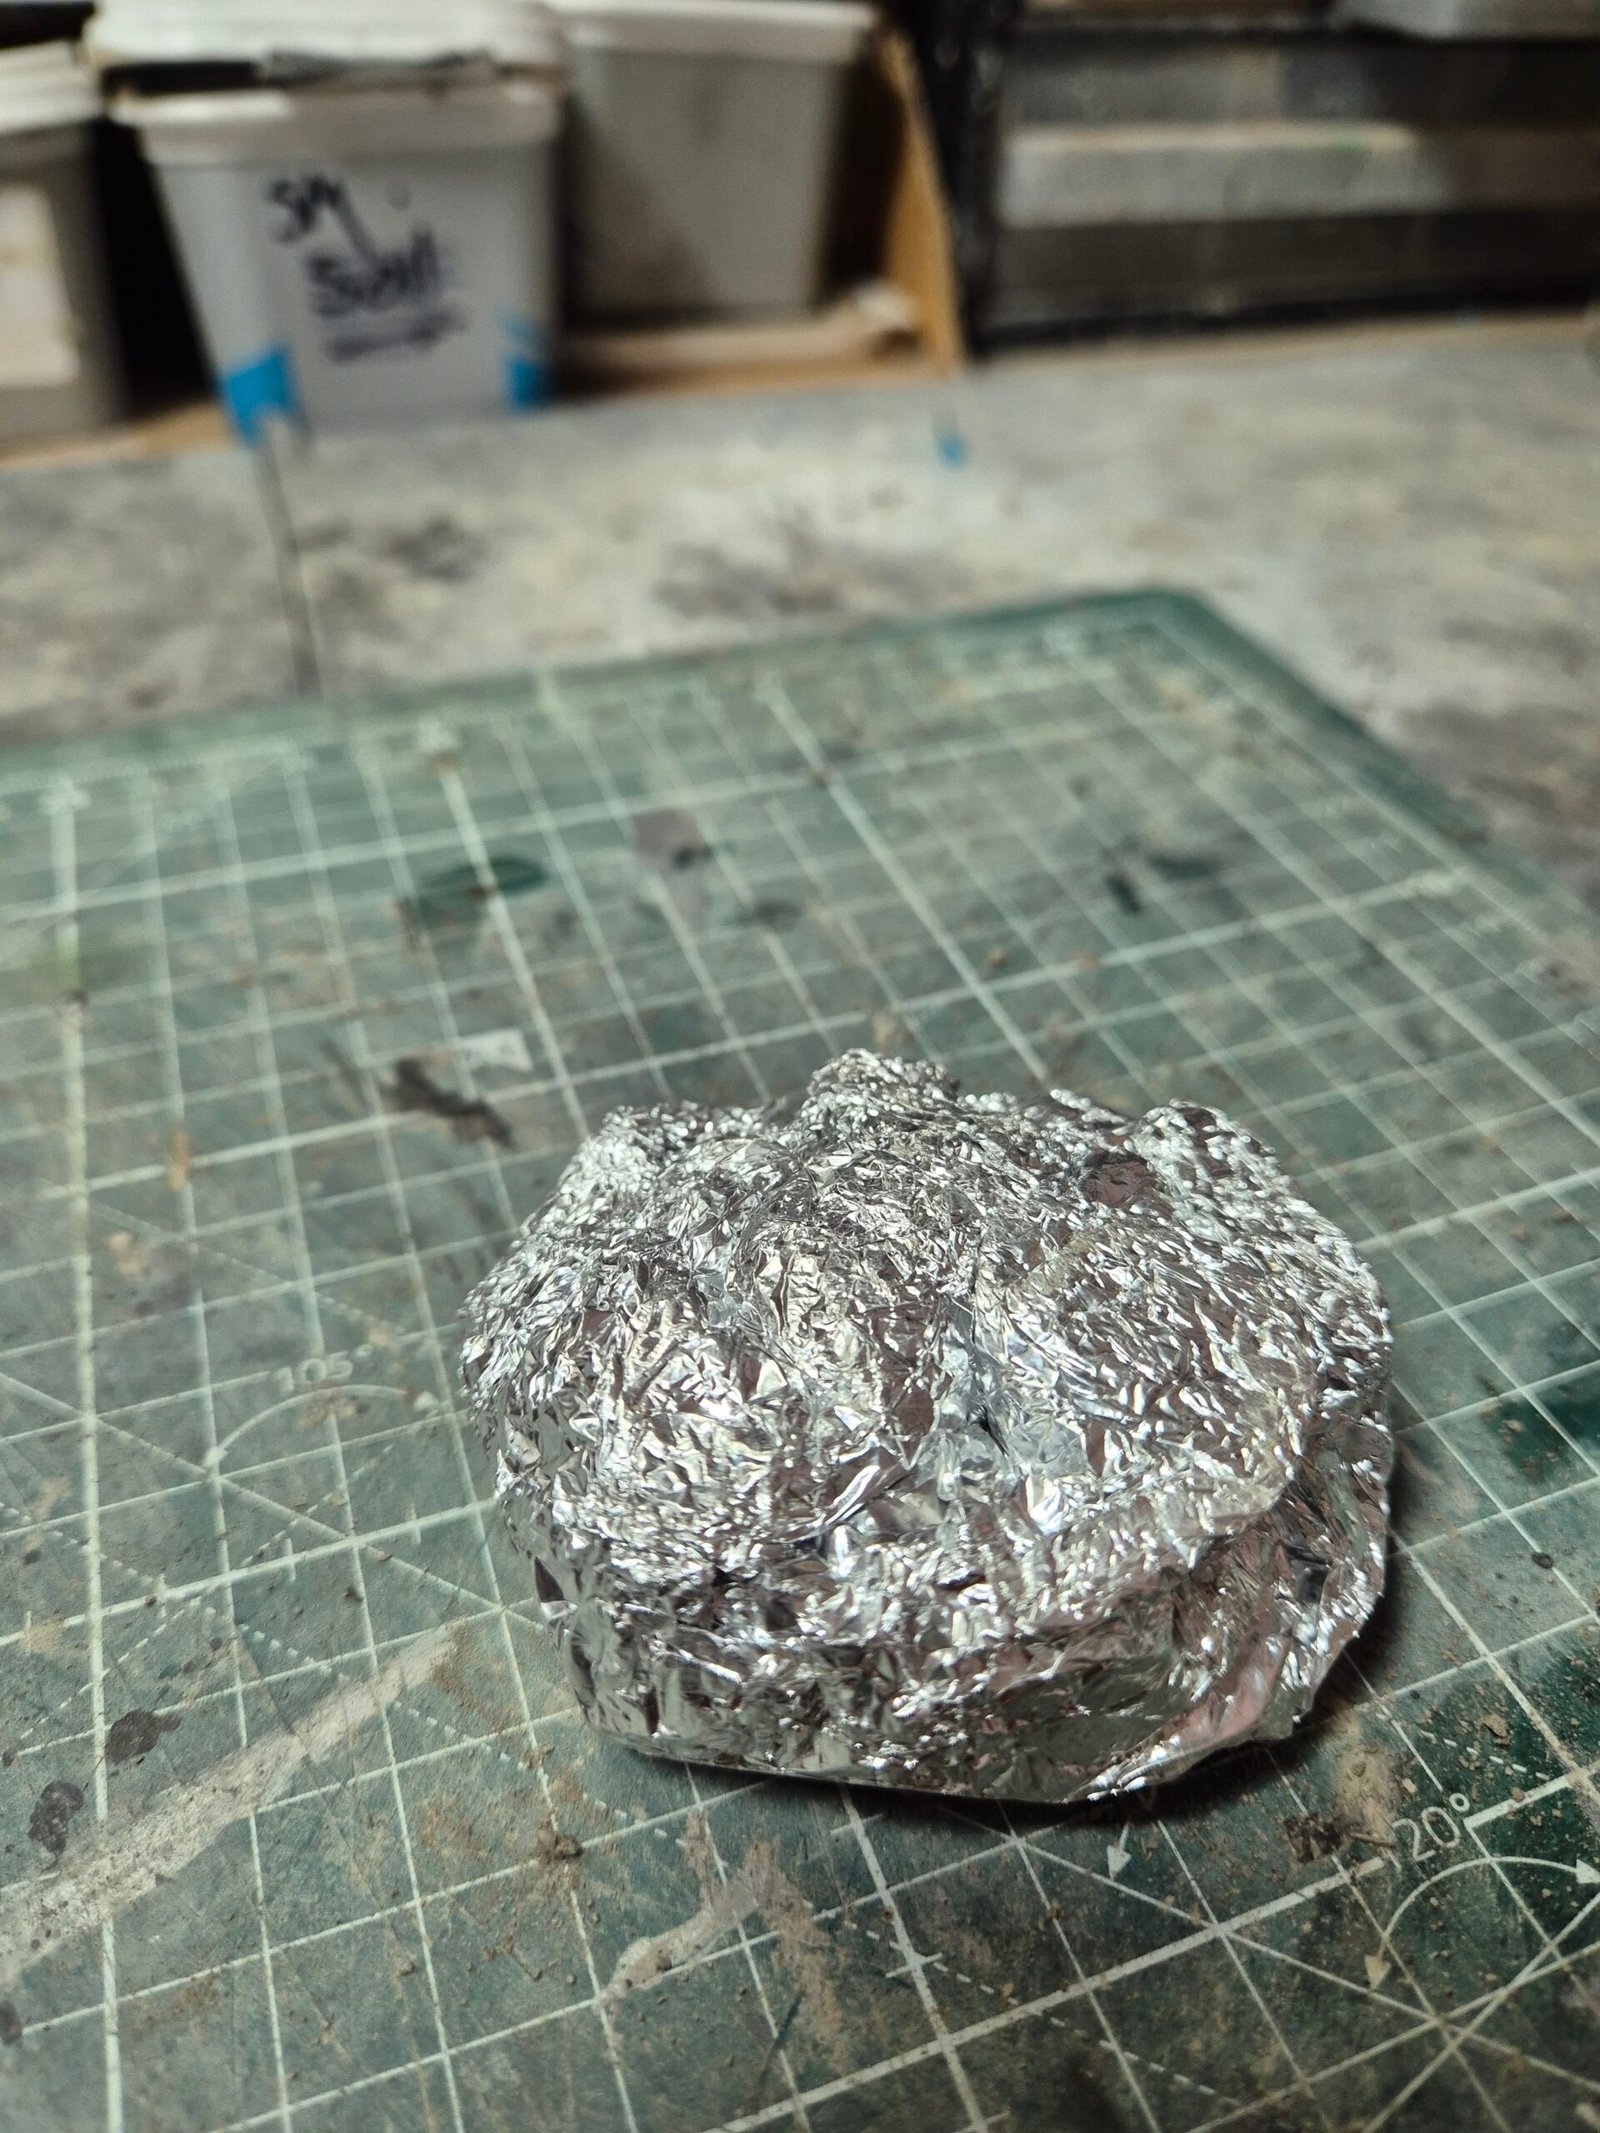
I started with some old recycled tin foil and formed it into a basic flattened cylinder.
This gives the tree stump its underlying structure while also helping me use less clay. It also means the model takes less time to dry, which is always a bonus when you’re working with air-dry clay.
Adding the Clay
Adding the clay is fairly simple.
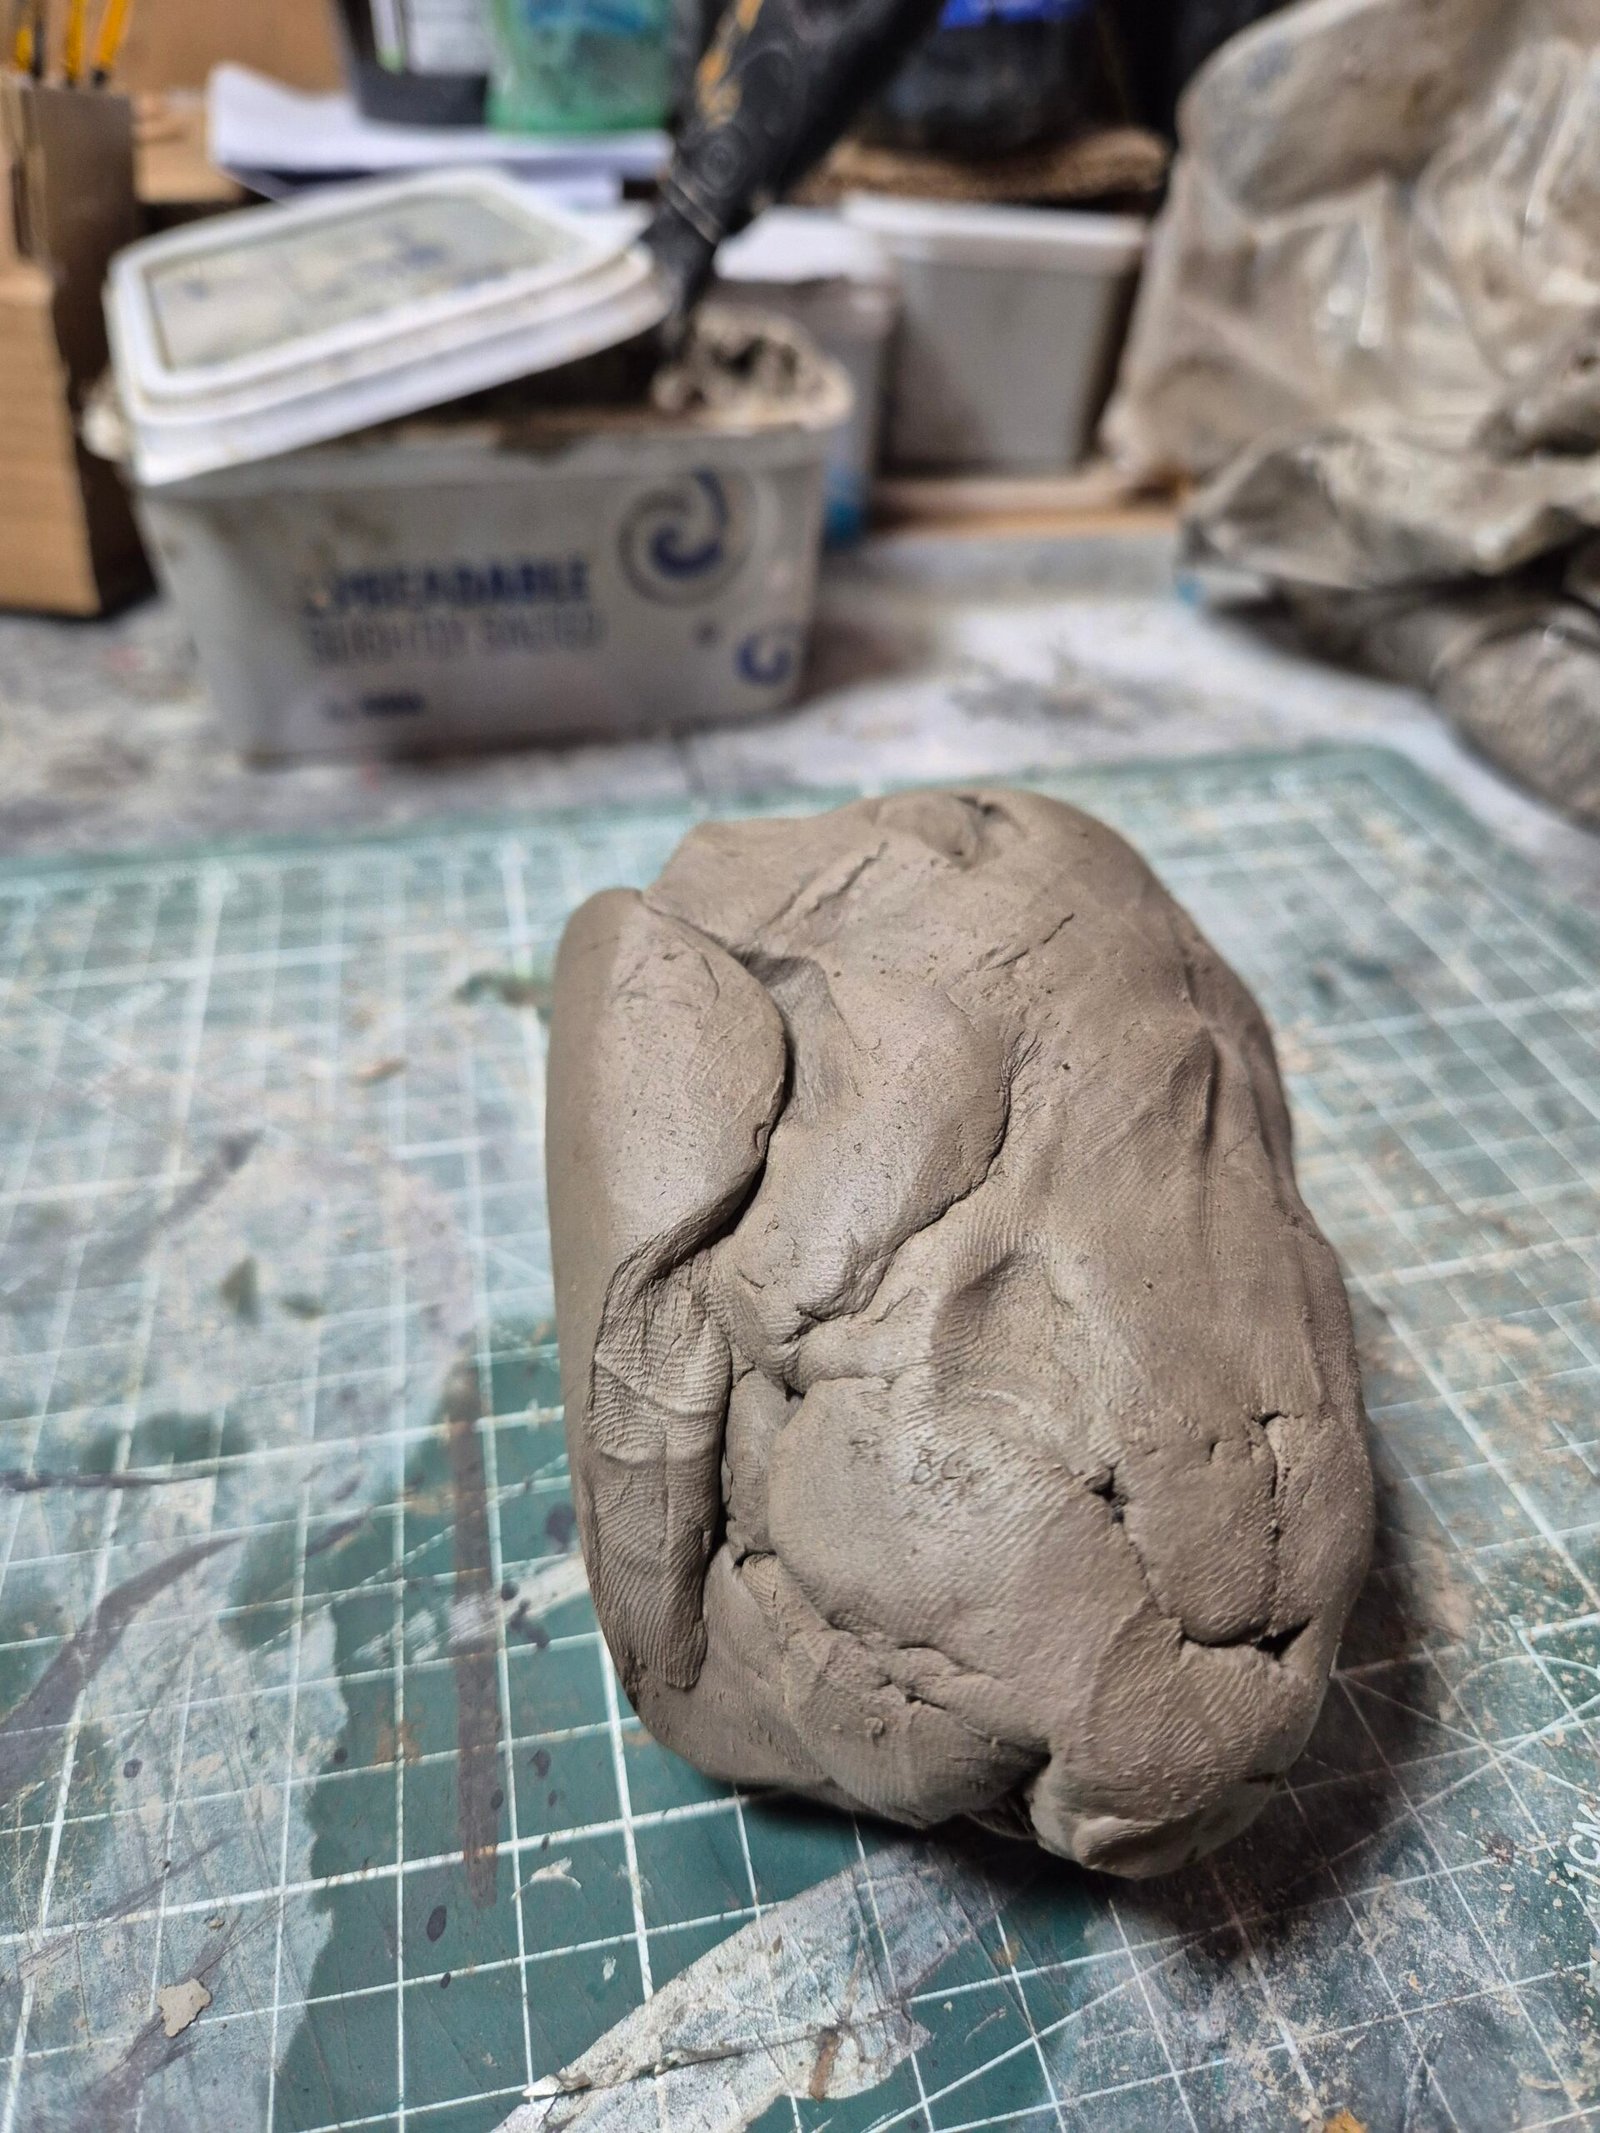
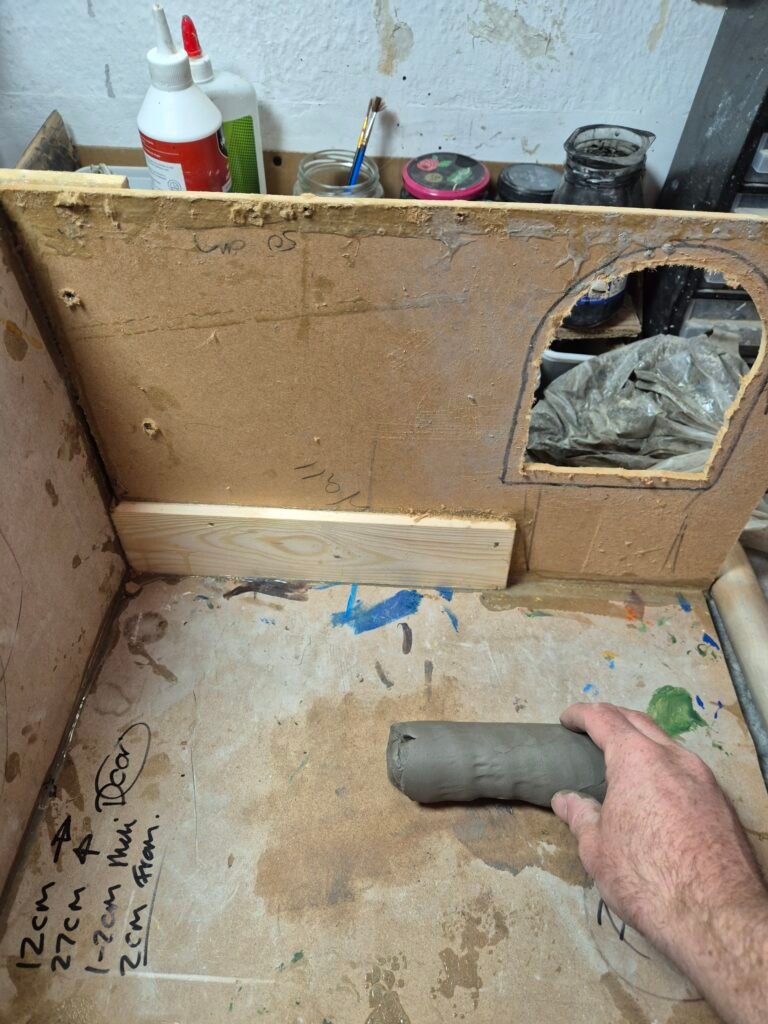
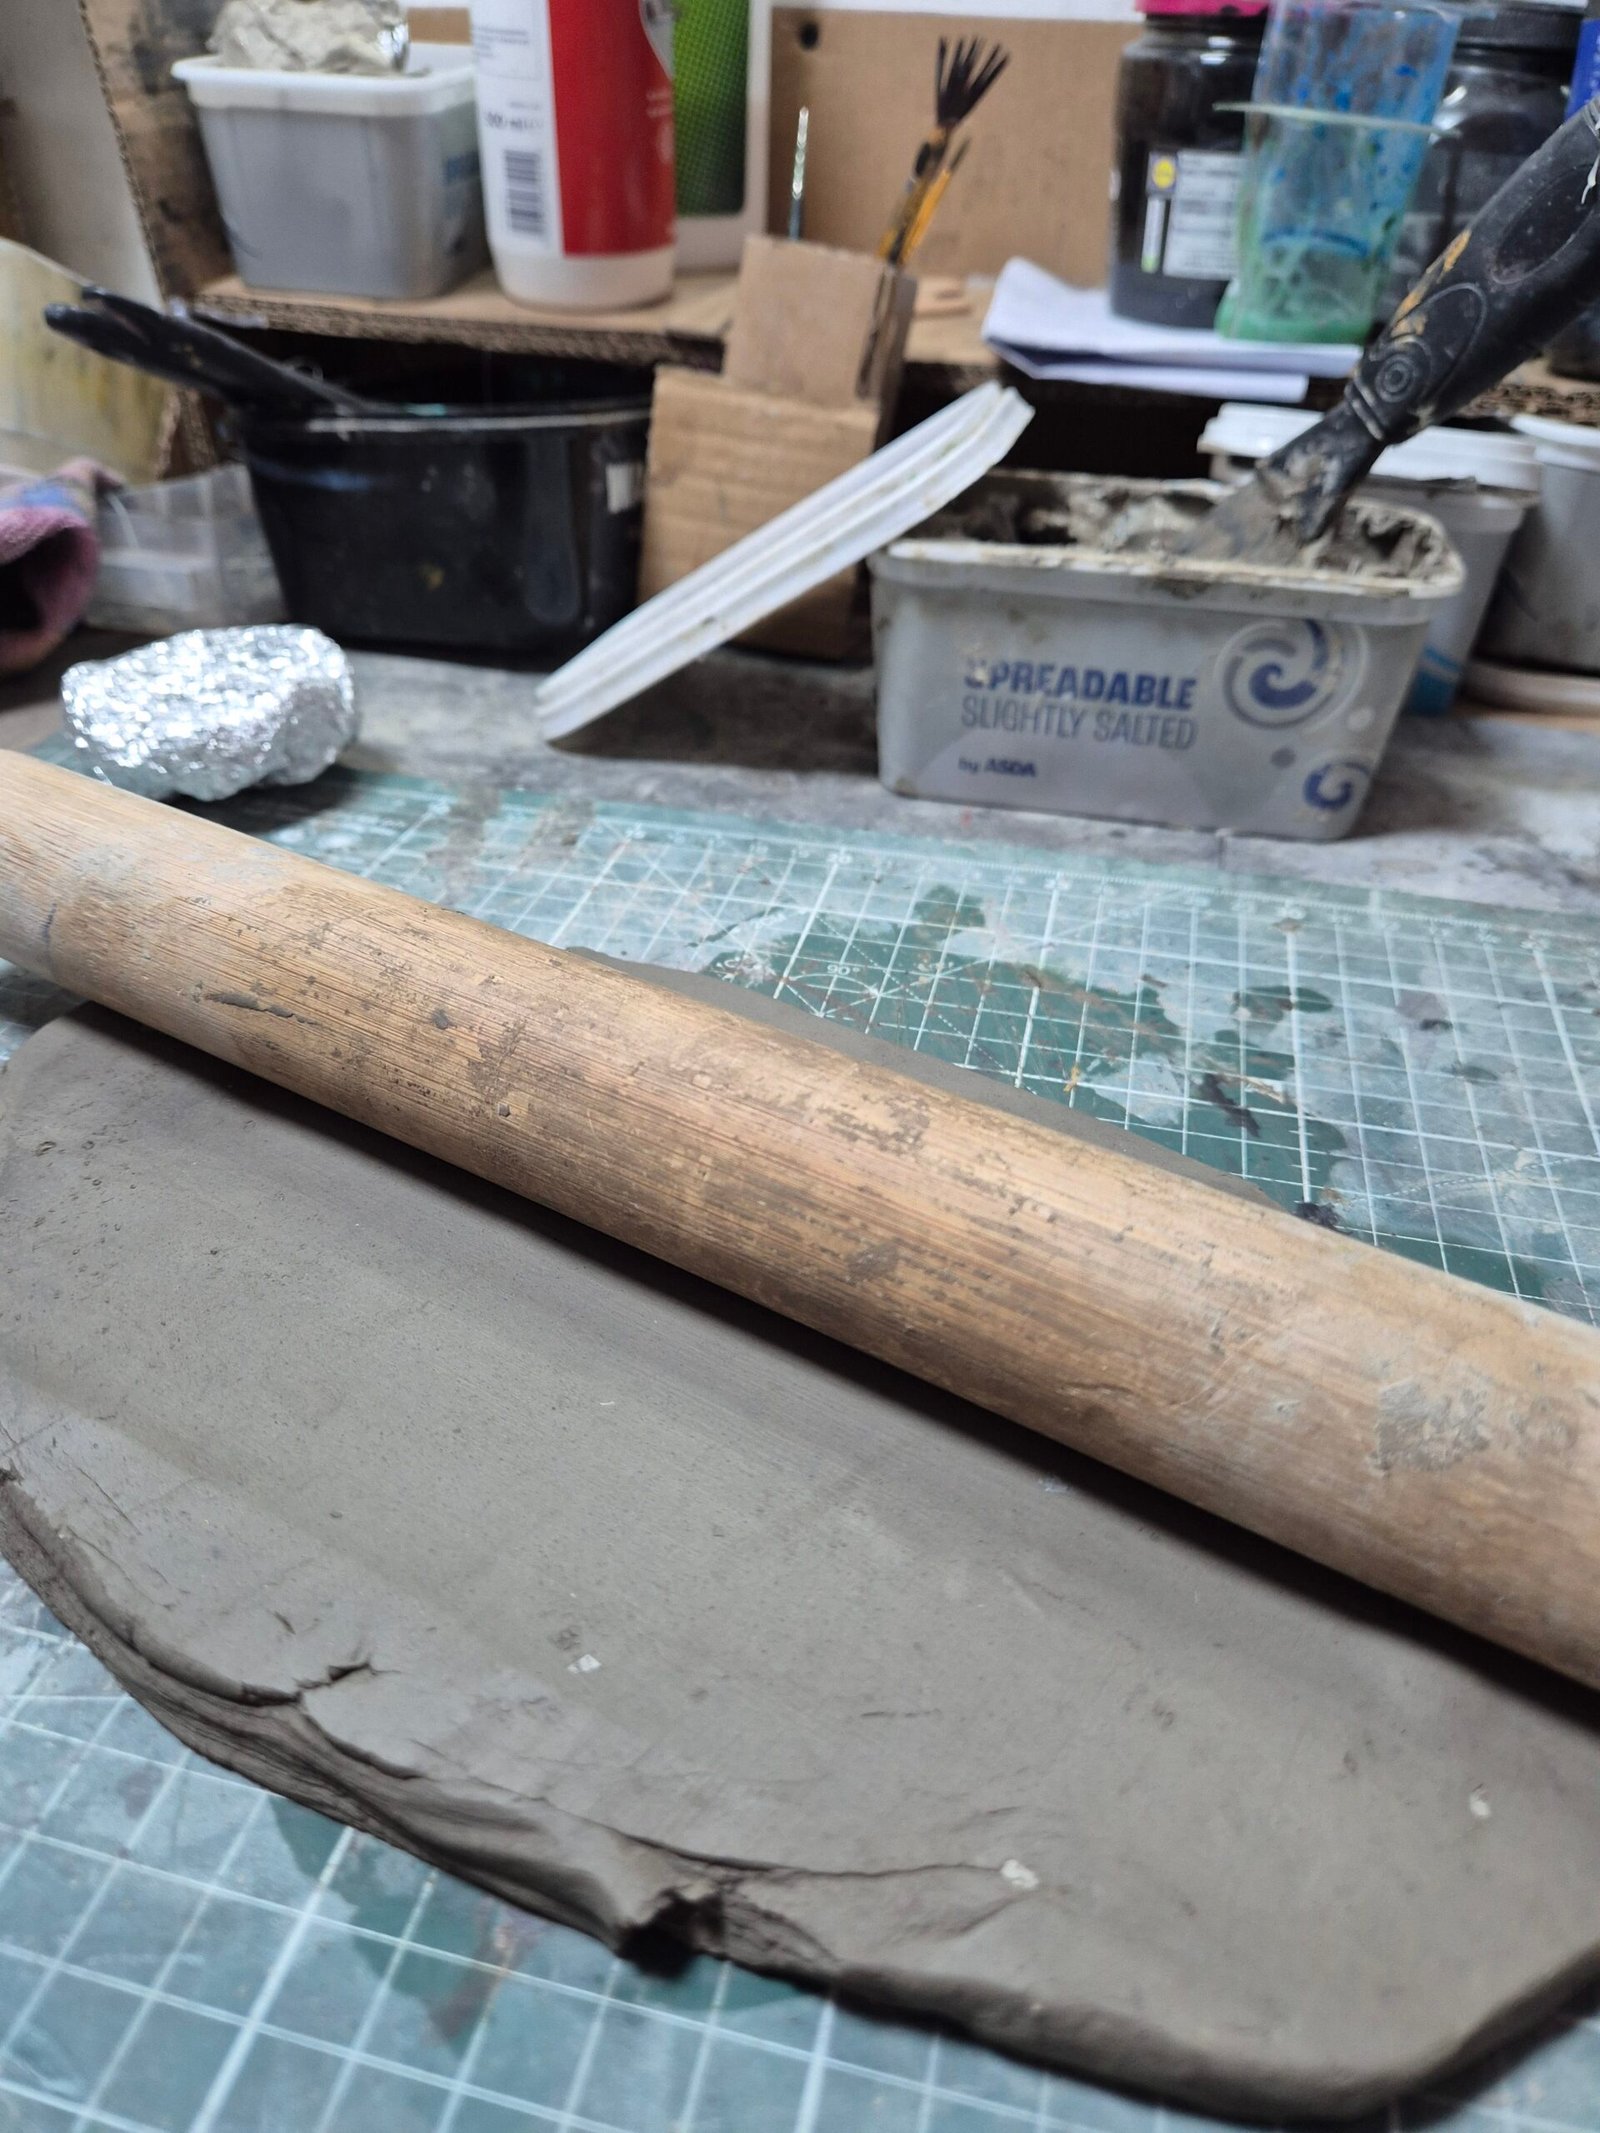
I rolled out a roughly 10mm-thick flattened circle of clay and gently pressed it around the tin foil cylinder.
The rough surface of the tin foil gives the clay something to grip onto. As the clay dries, it also shrinks slightly around the tin foil, helping to form a solid outer shell.
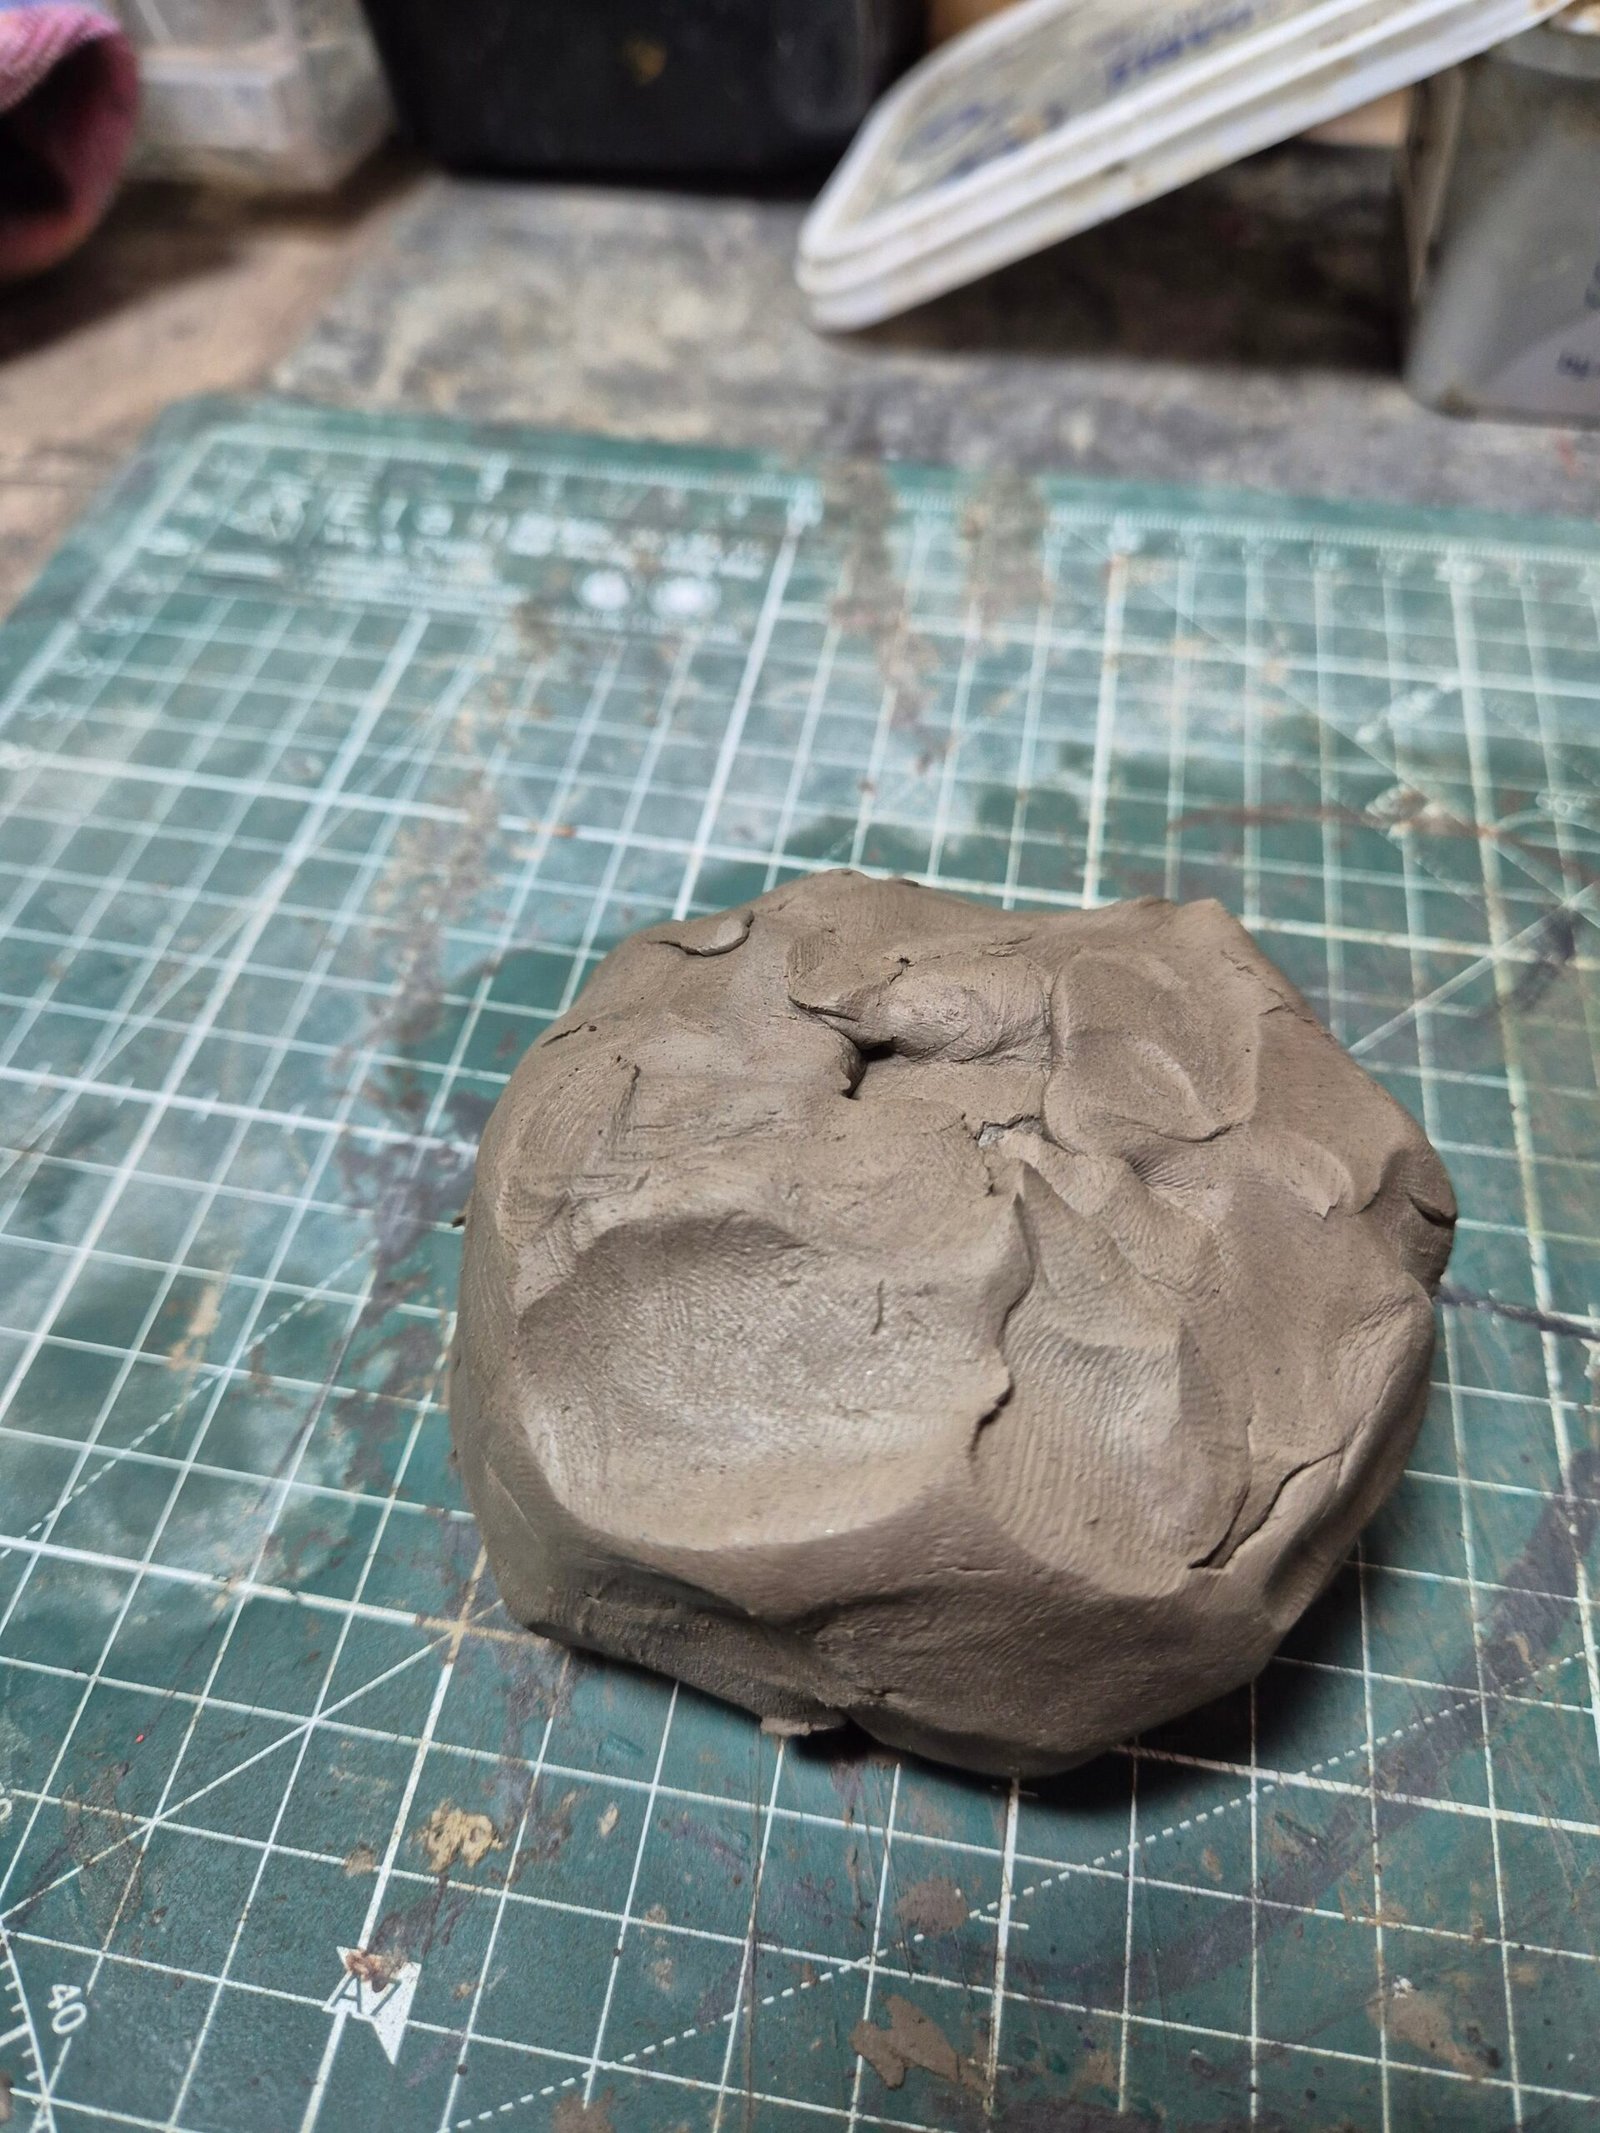
Once the tin foil was completely covered and there was no longer any visible, I started shaping the outside of the stump.
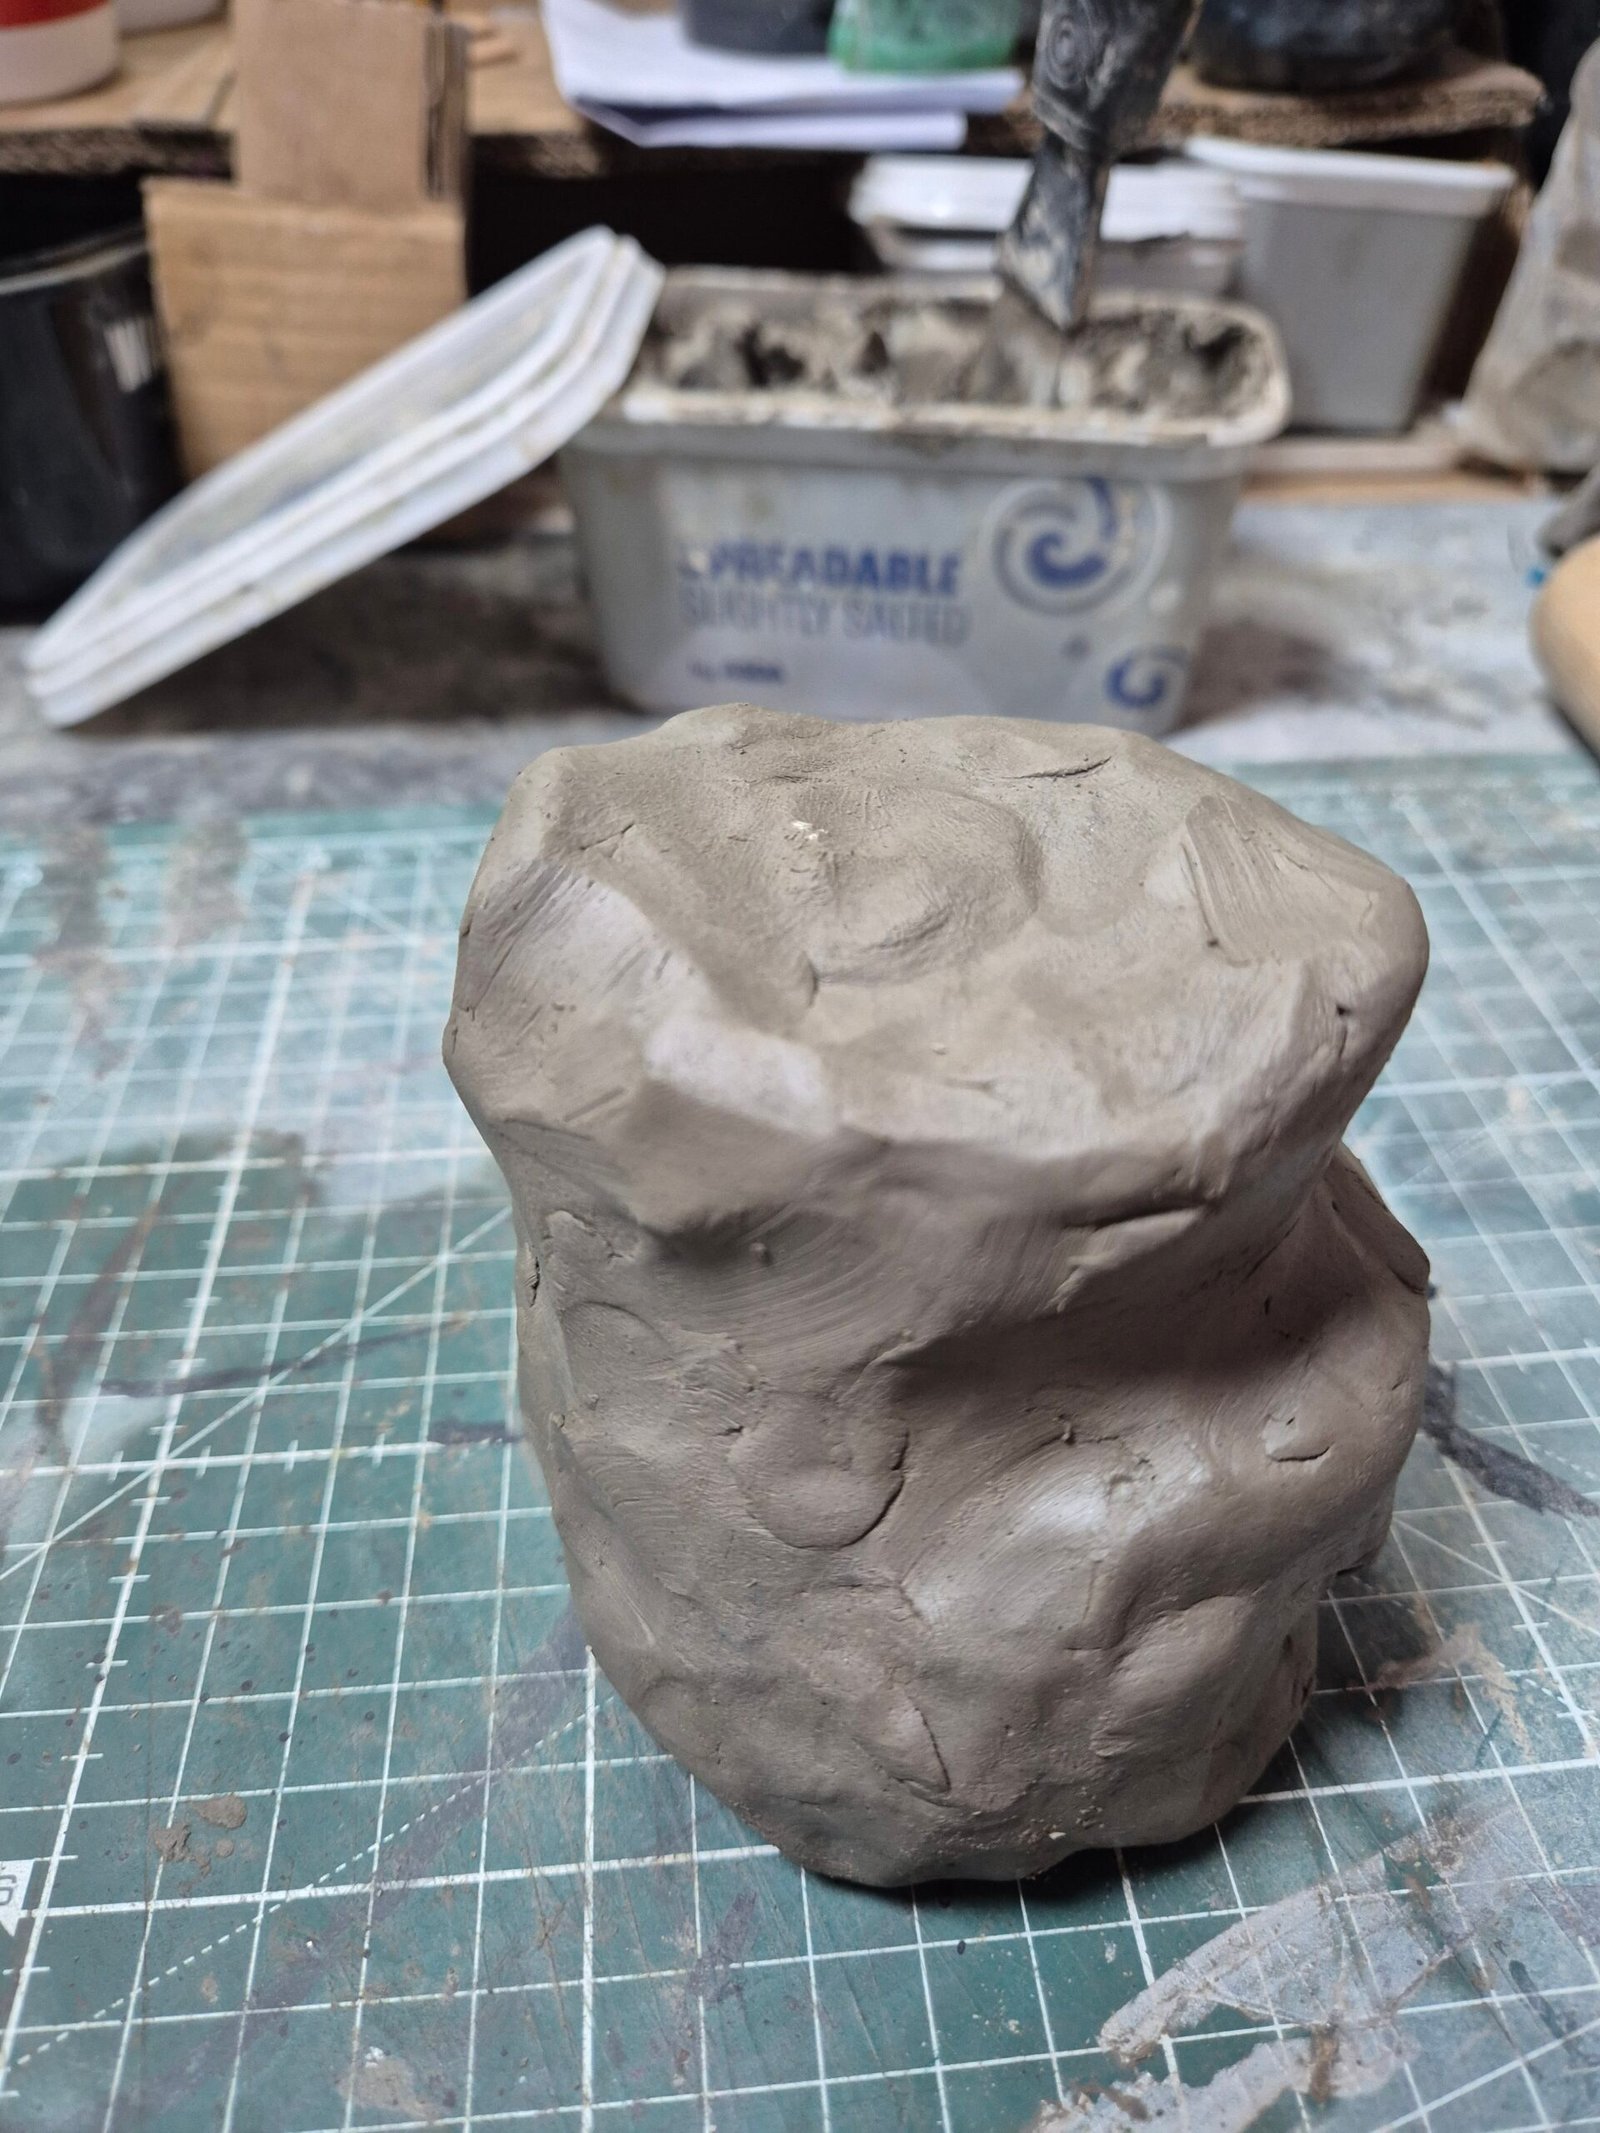
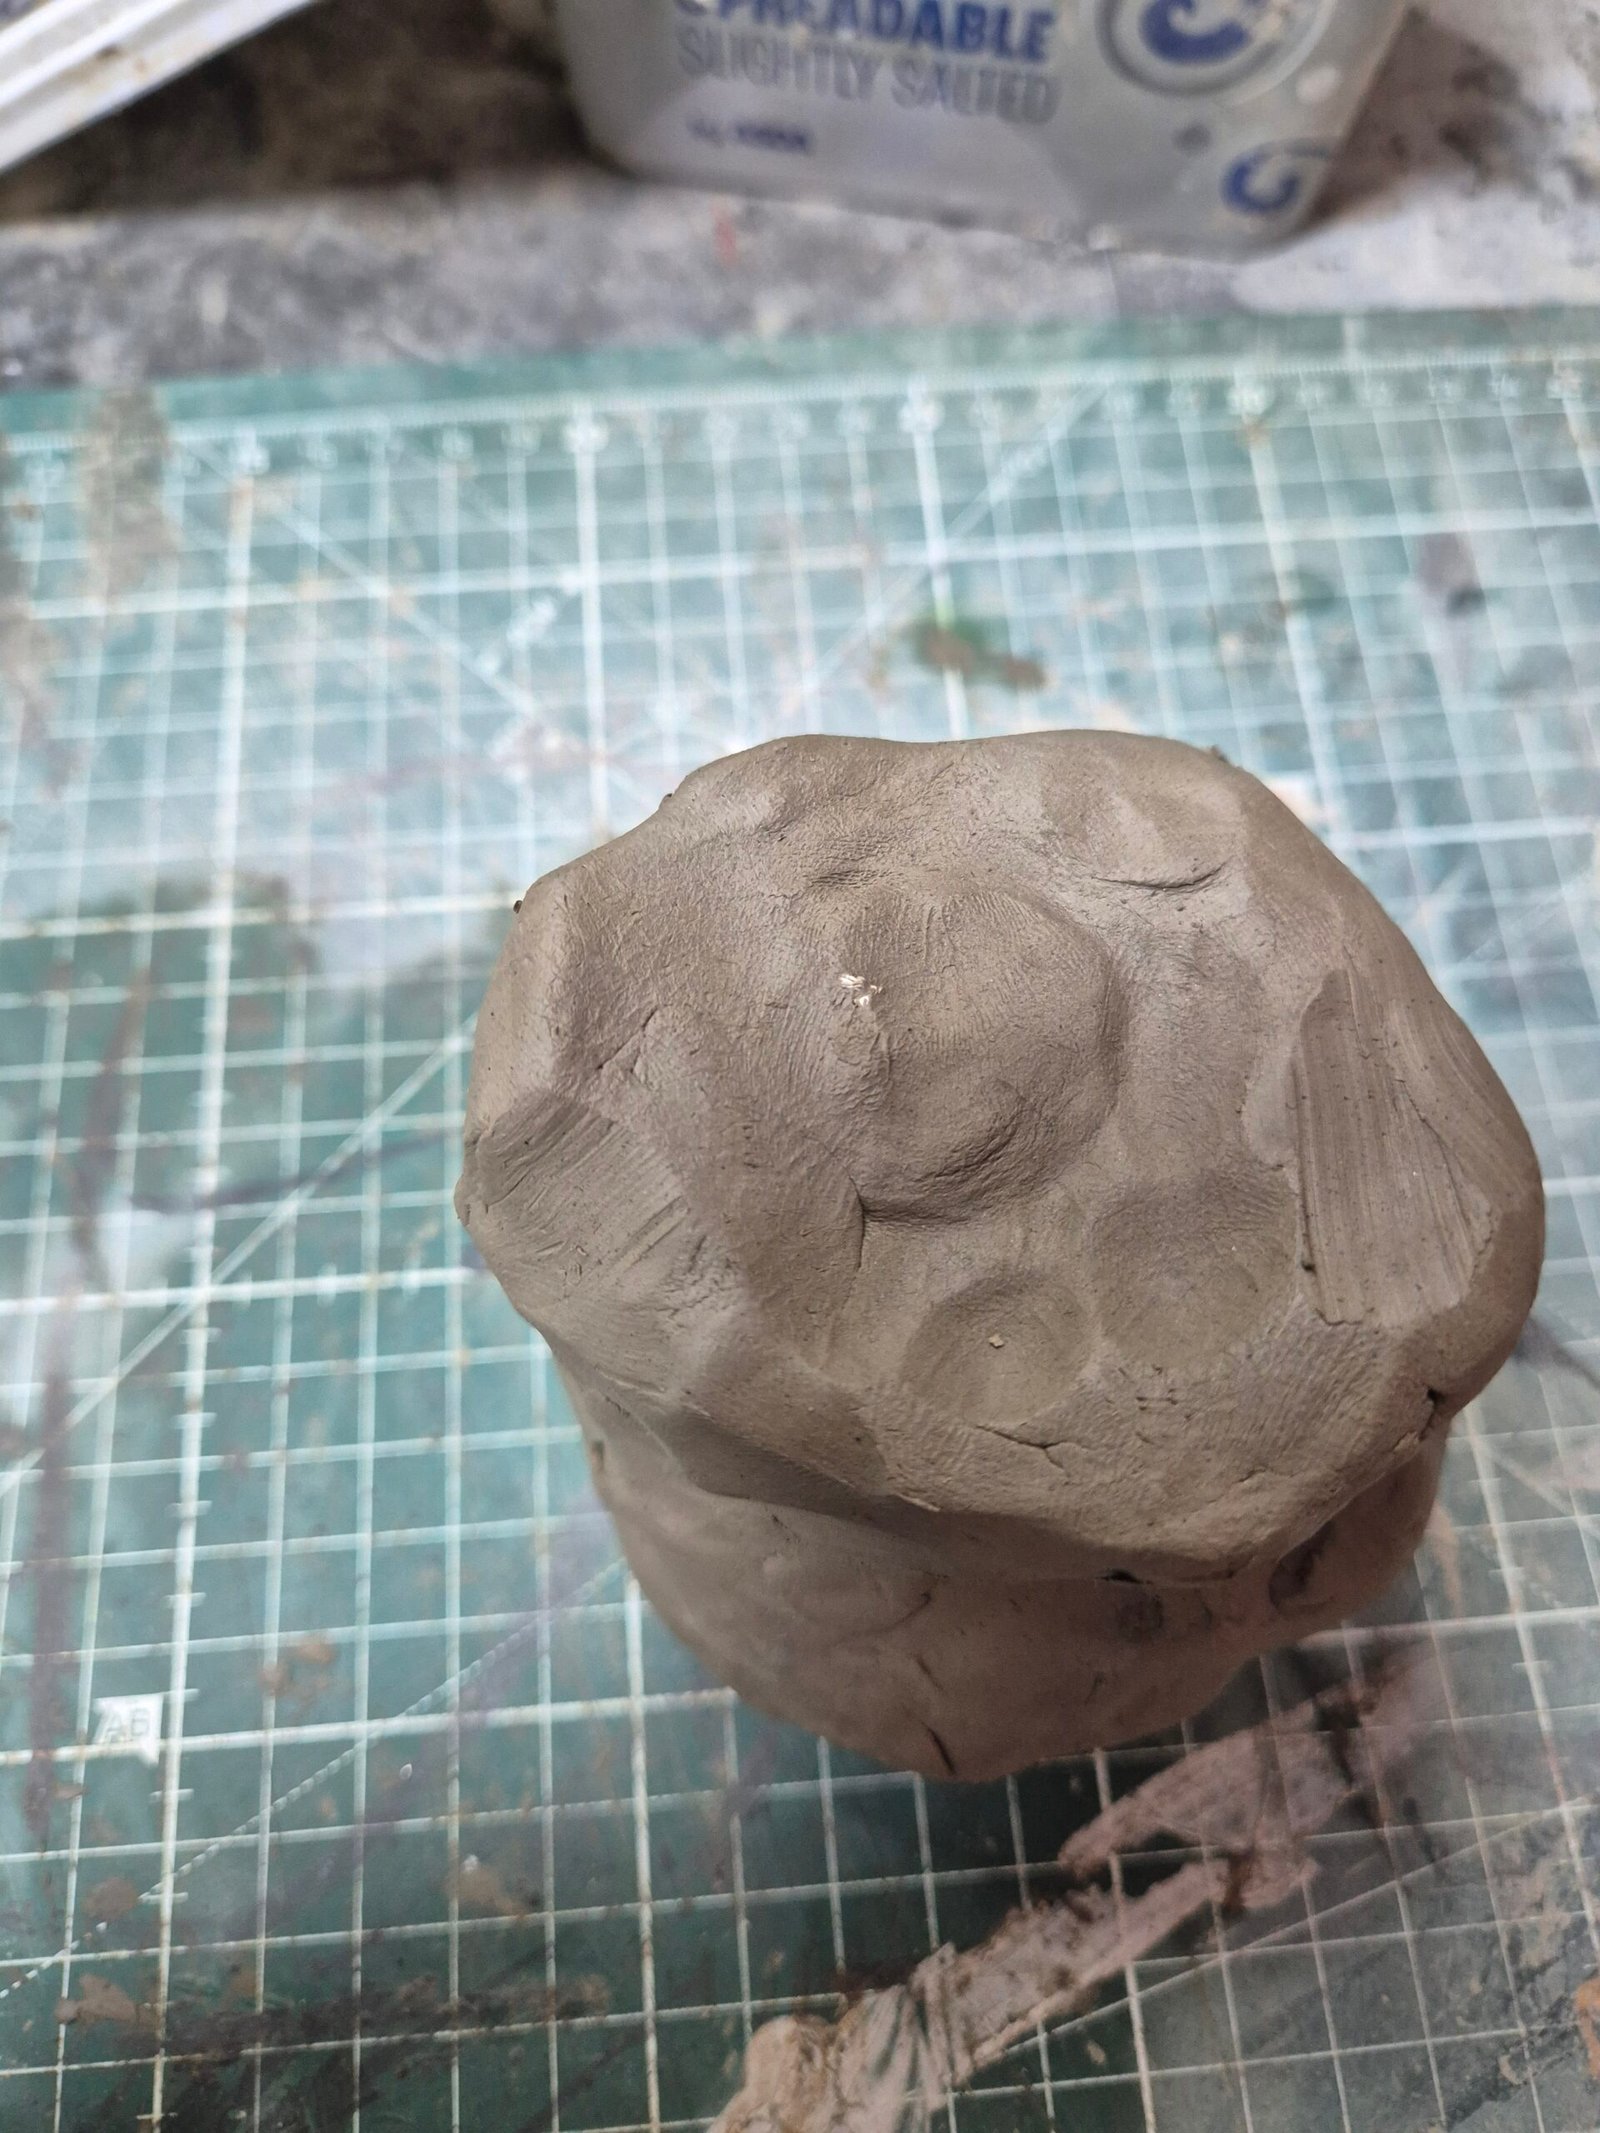
I added irregular shapes, pushed some areas in and built others up, basically trying to make it look more like a real tree stump rather than a clay-covered cylinder.
Making the Bark Details
For the bark details, I used an old paintbrush that I had cut at an angle.
I then pressed it into the clay to create deep indents and lines.
I went for quite exaggerated, irregular marks to give the stump some deep, aged bark detailing.
As you can see from the images, the tree stump is still in the early stages of drying.
I can’t really do much more at this stage without risking destroying the detailing I’ve already added, so it’s time to leave it alone and let it dry.
I’ll wait a few days for the tree stump to reach its first drying stage.
Once it has hardened up a bit, I can start adding more detail, including finer bark textures and smaller details across the surface.
Next Time
I’ve also started making a blacksmith workbench for the diorama, It’s still in the early stages at the moment. So far, I’ve created the workbench top and legs and started adding some wood detailing. More on that project next time.
One thing at a time, although I seem to have about five things on the go at once!