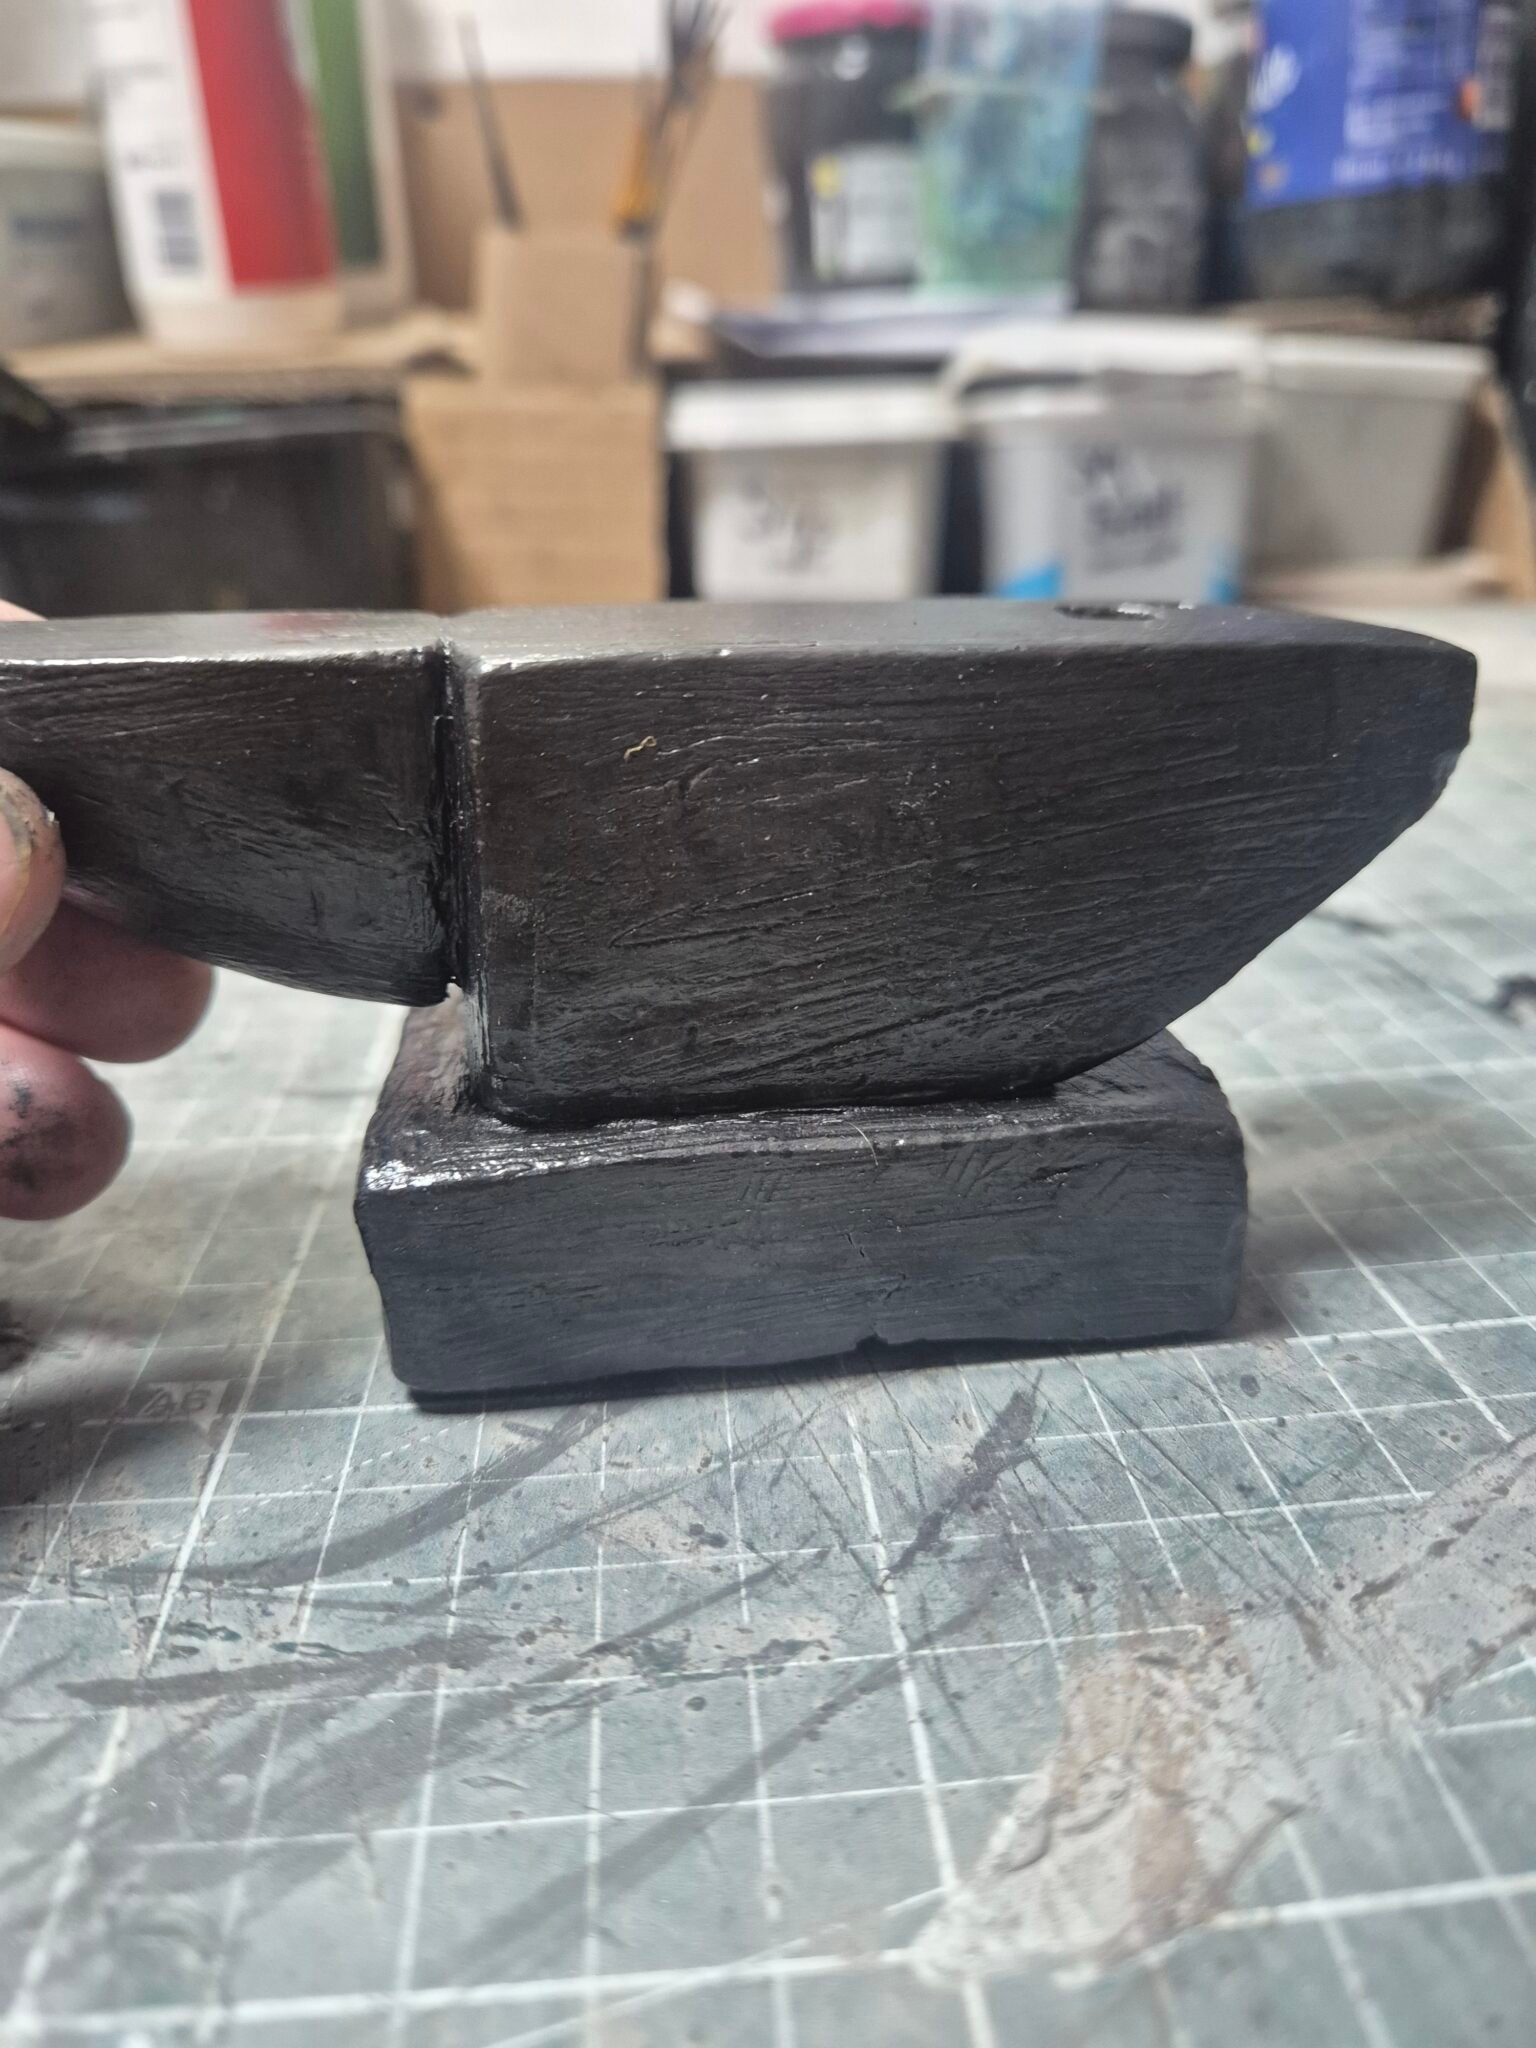

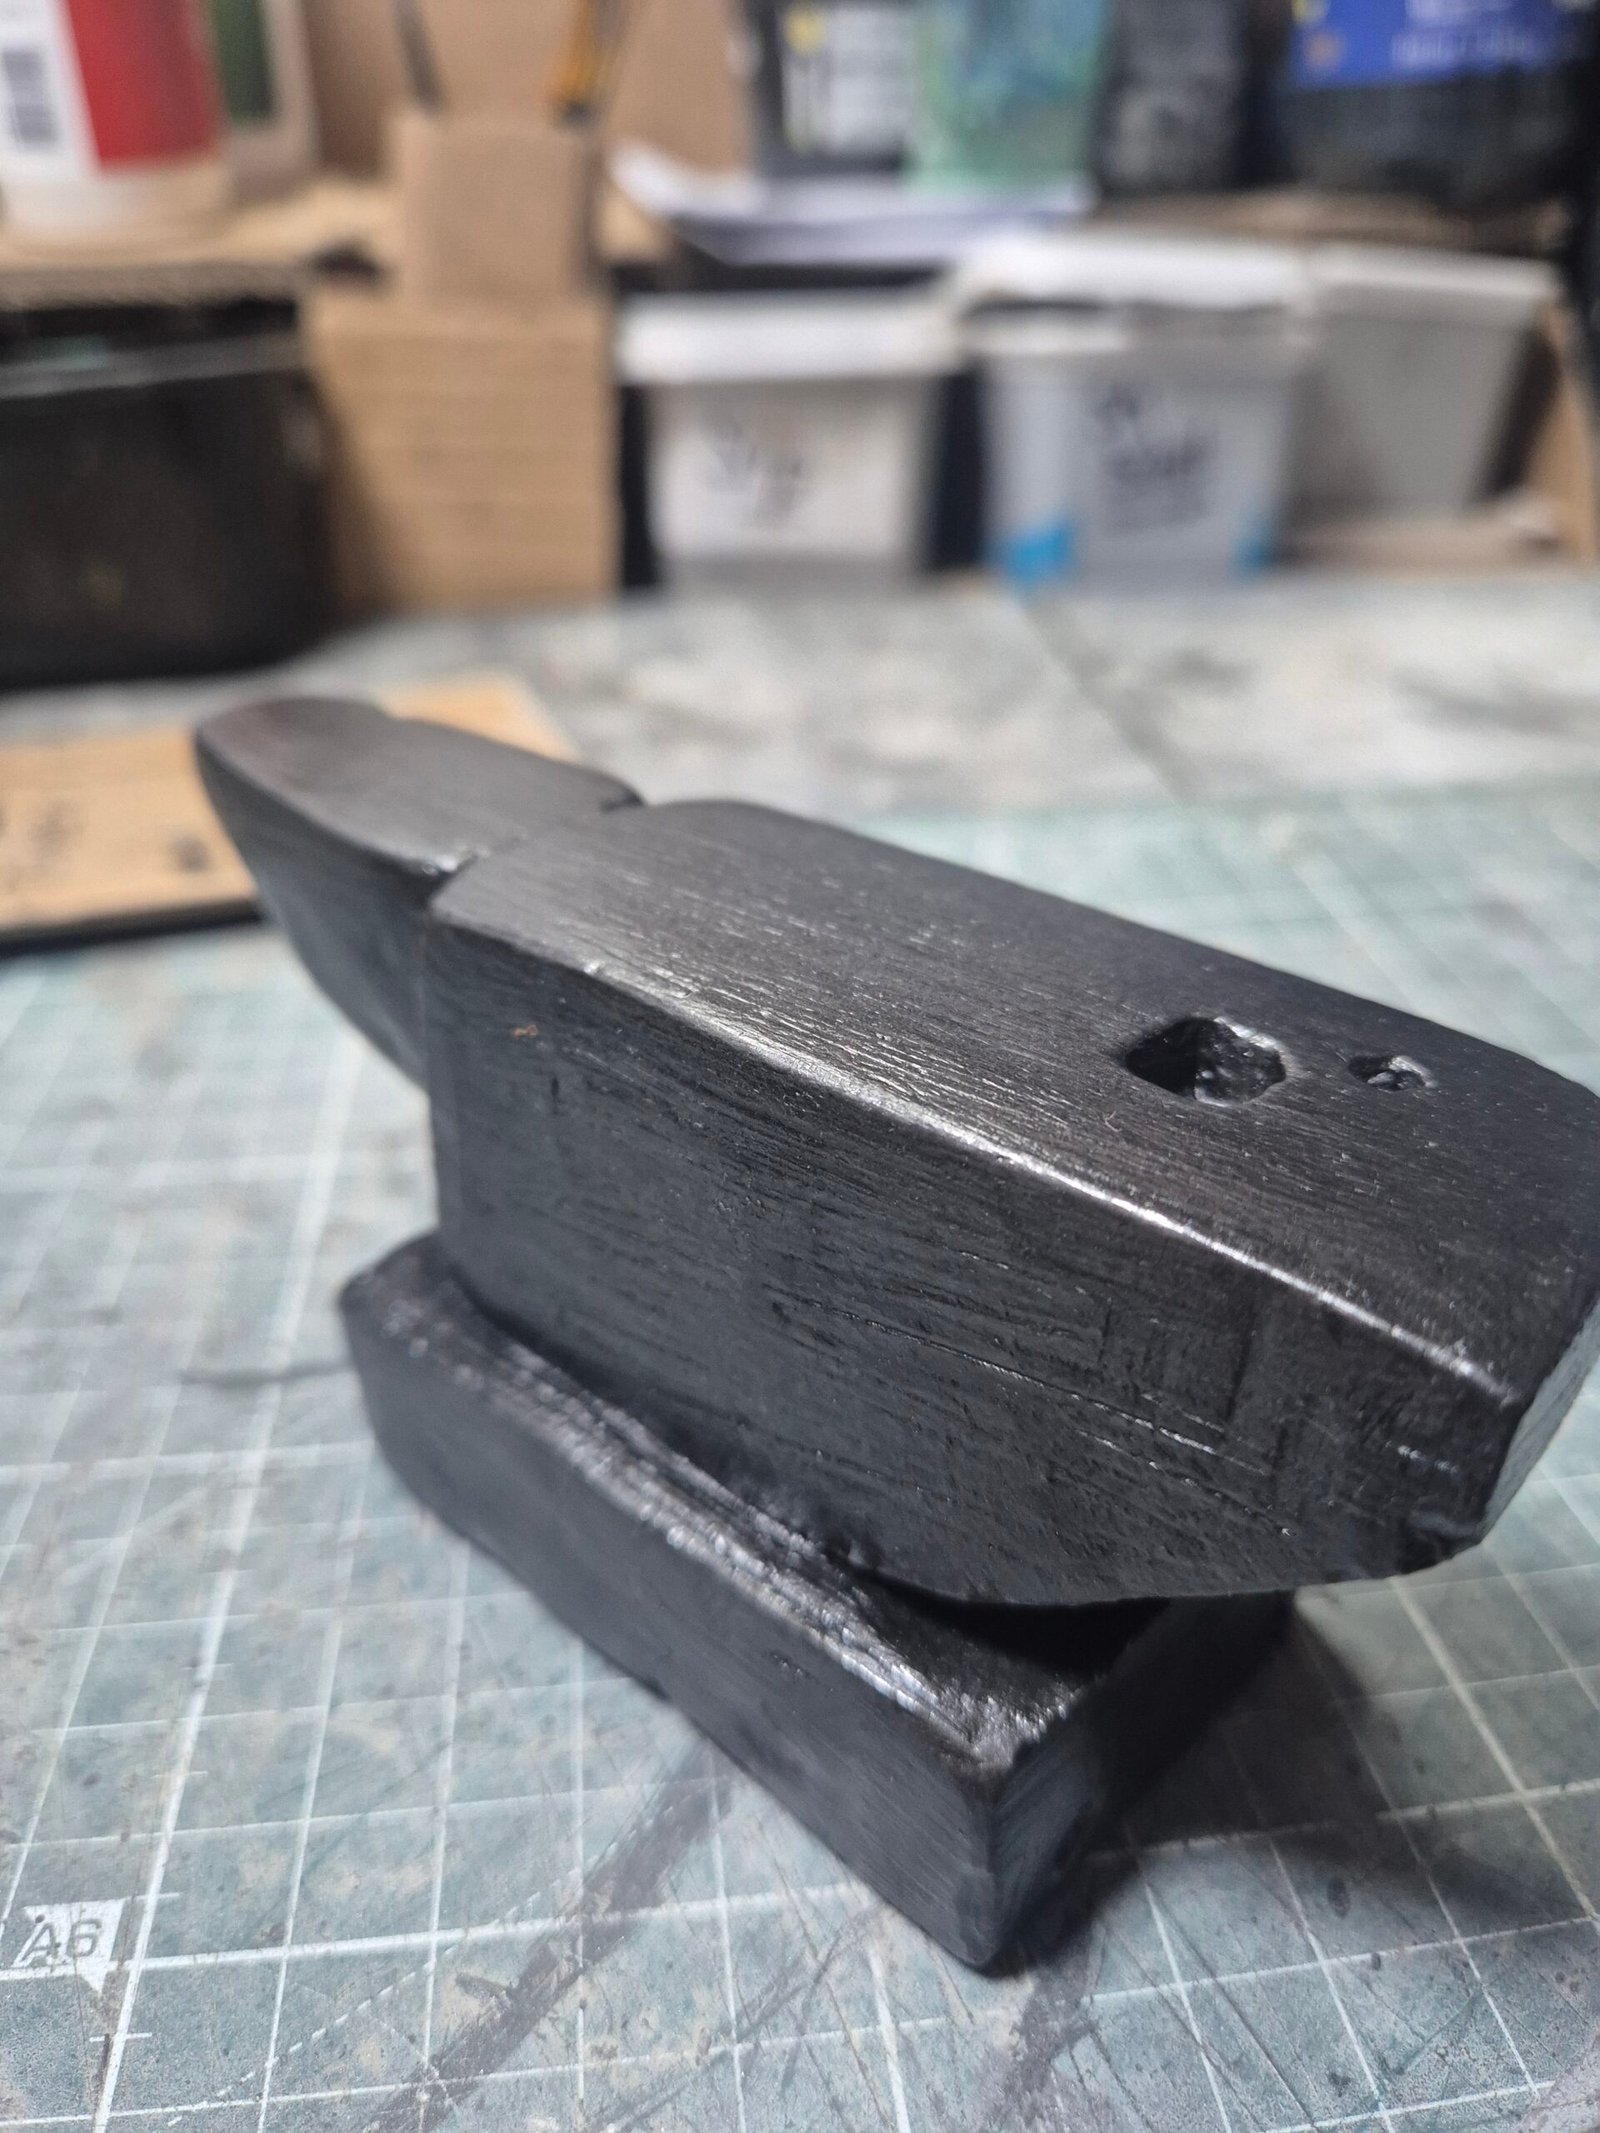
Back to work today—but not for me! Working in hospitality means Sunday is a working day. Instead, I’ve been spending my time making and writing about miniature creations using air-dry clay.
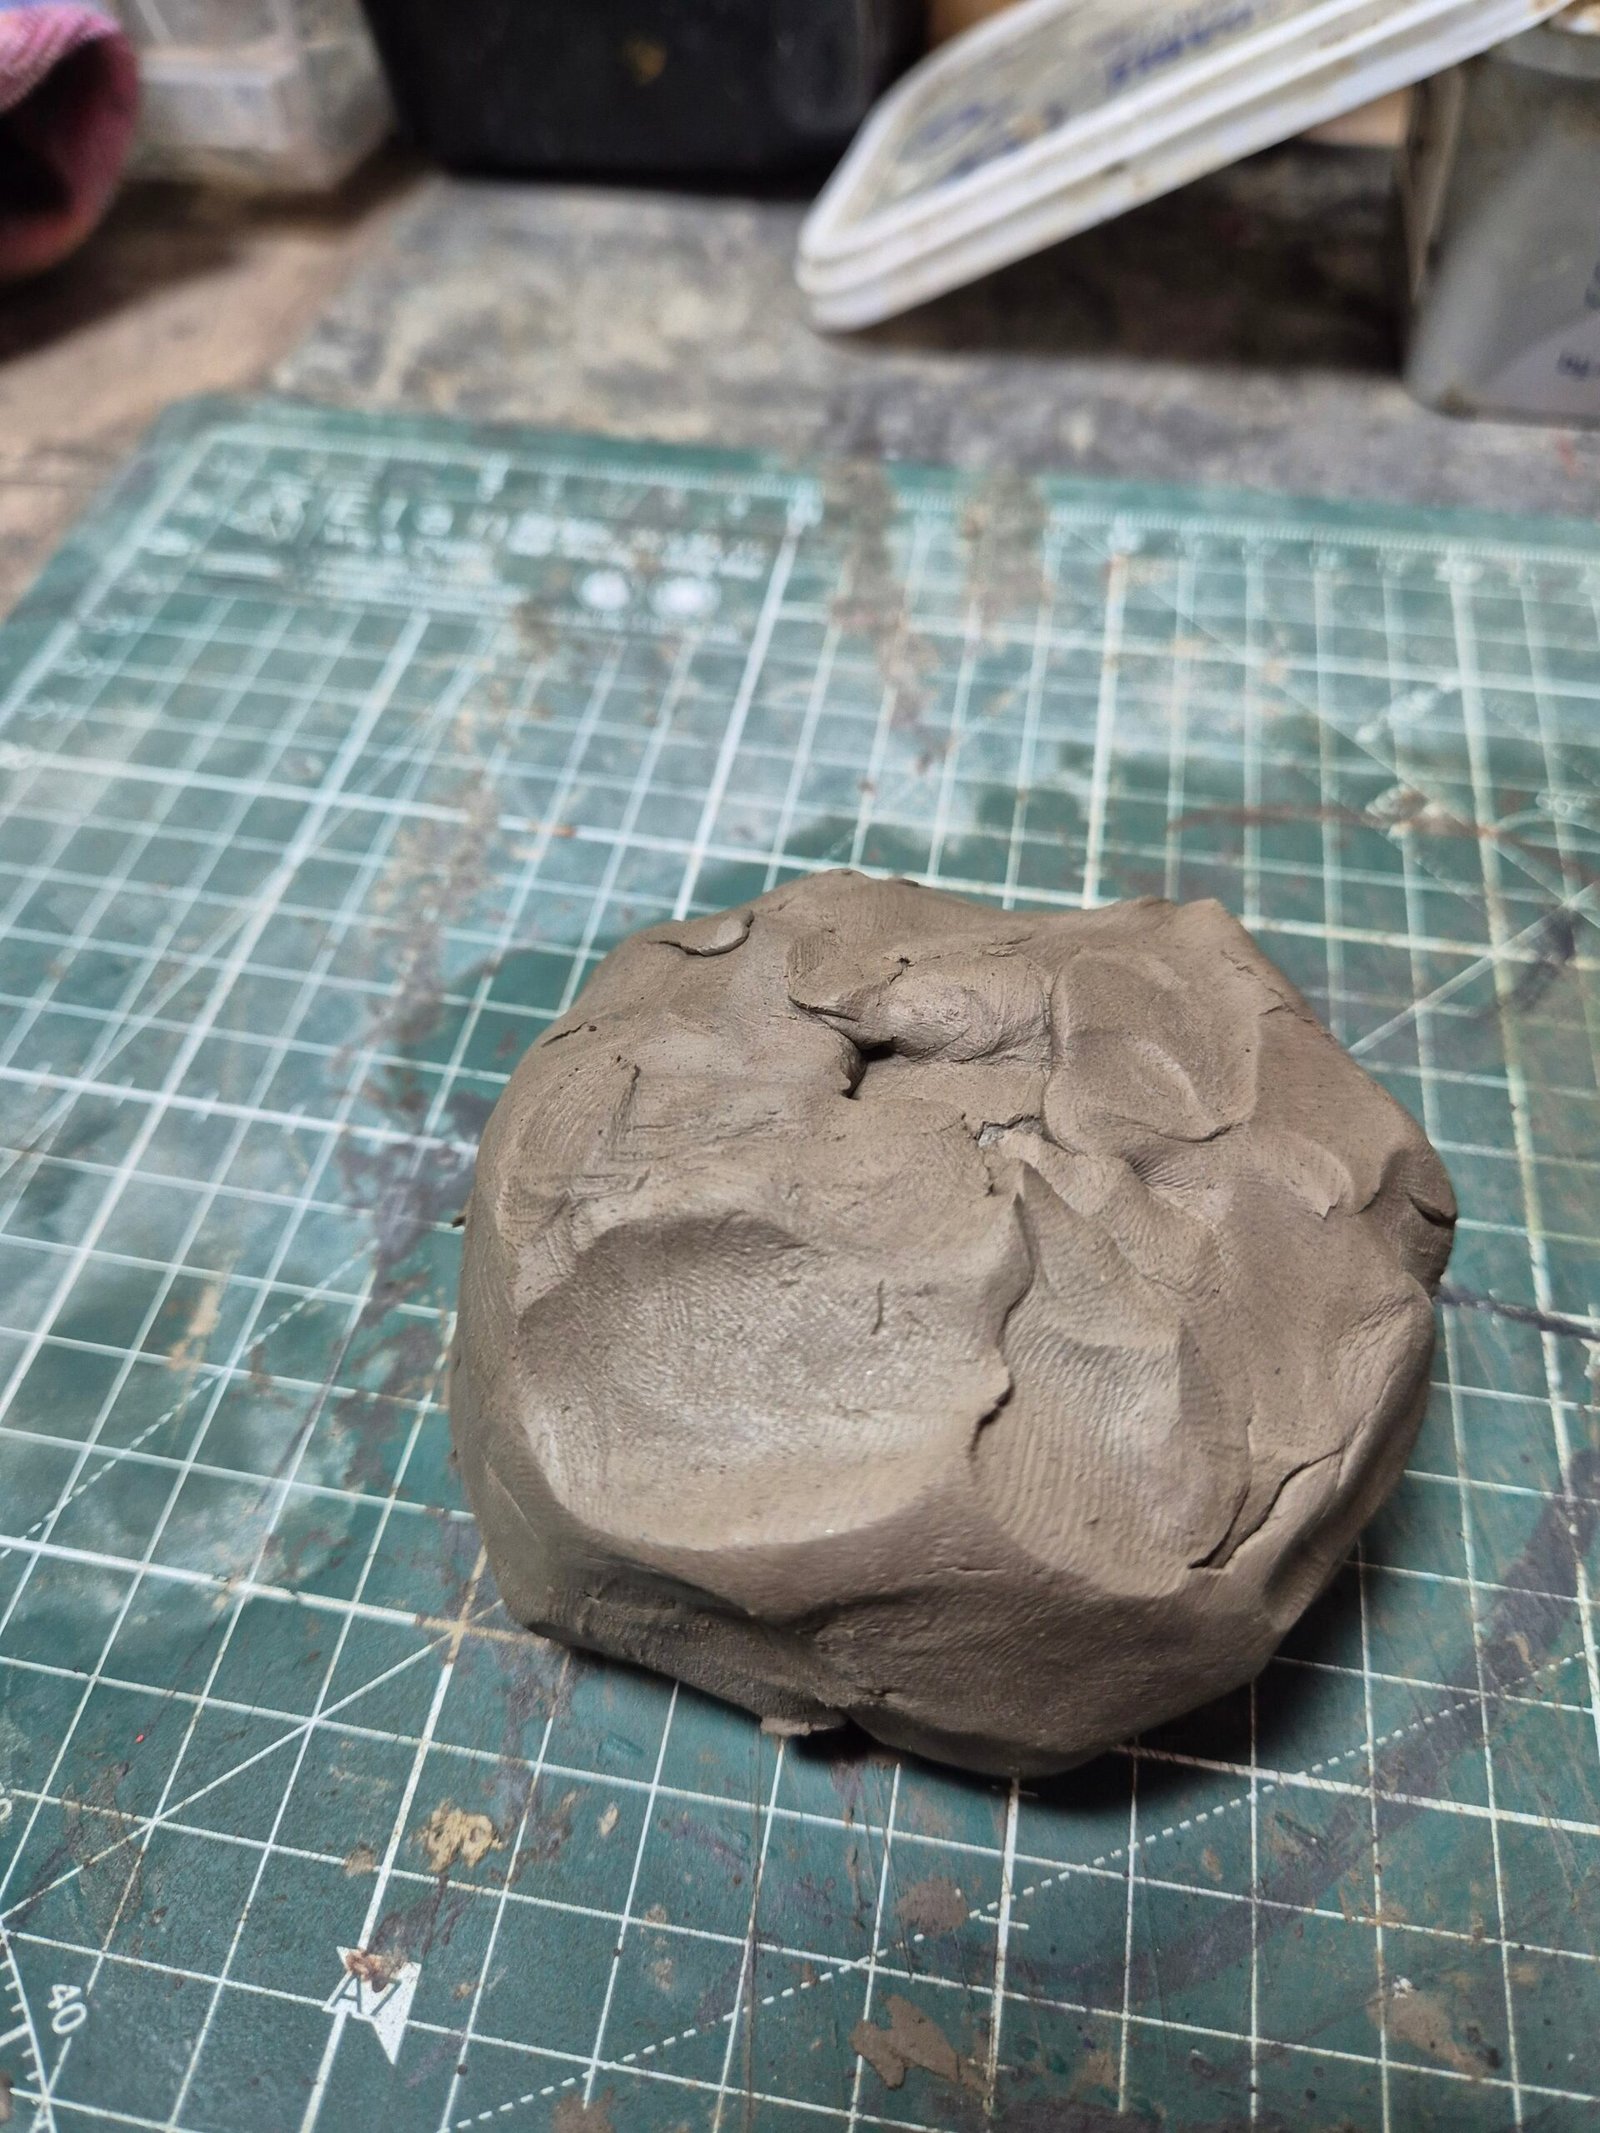
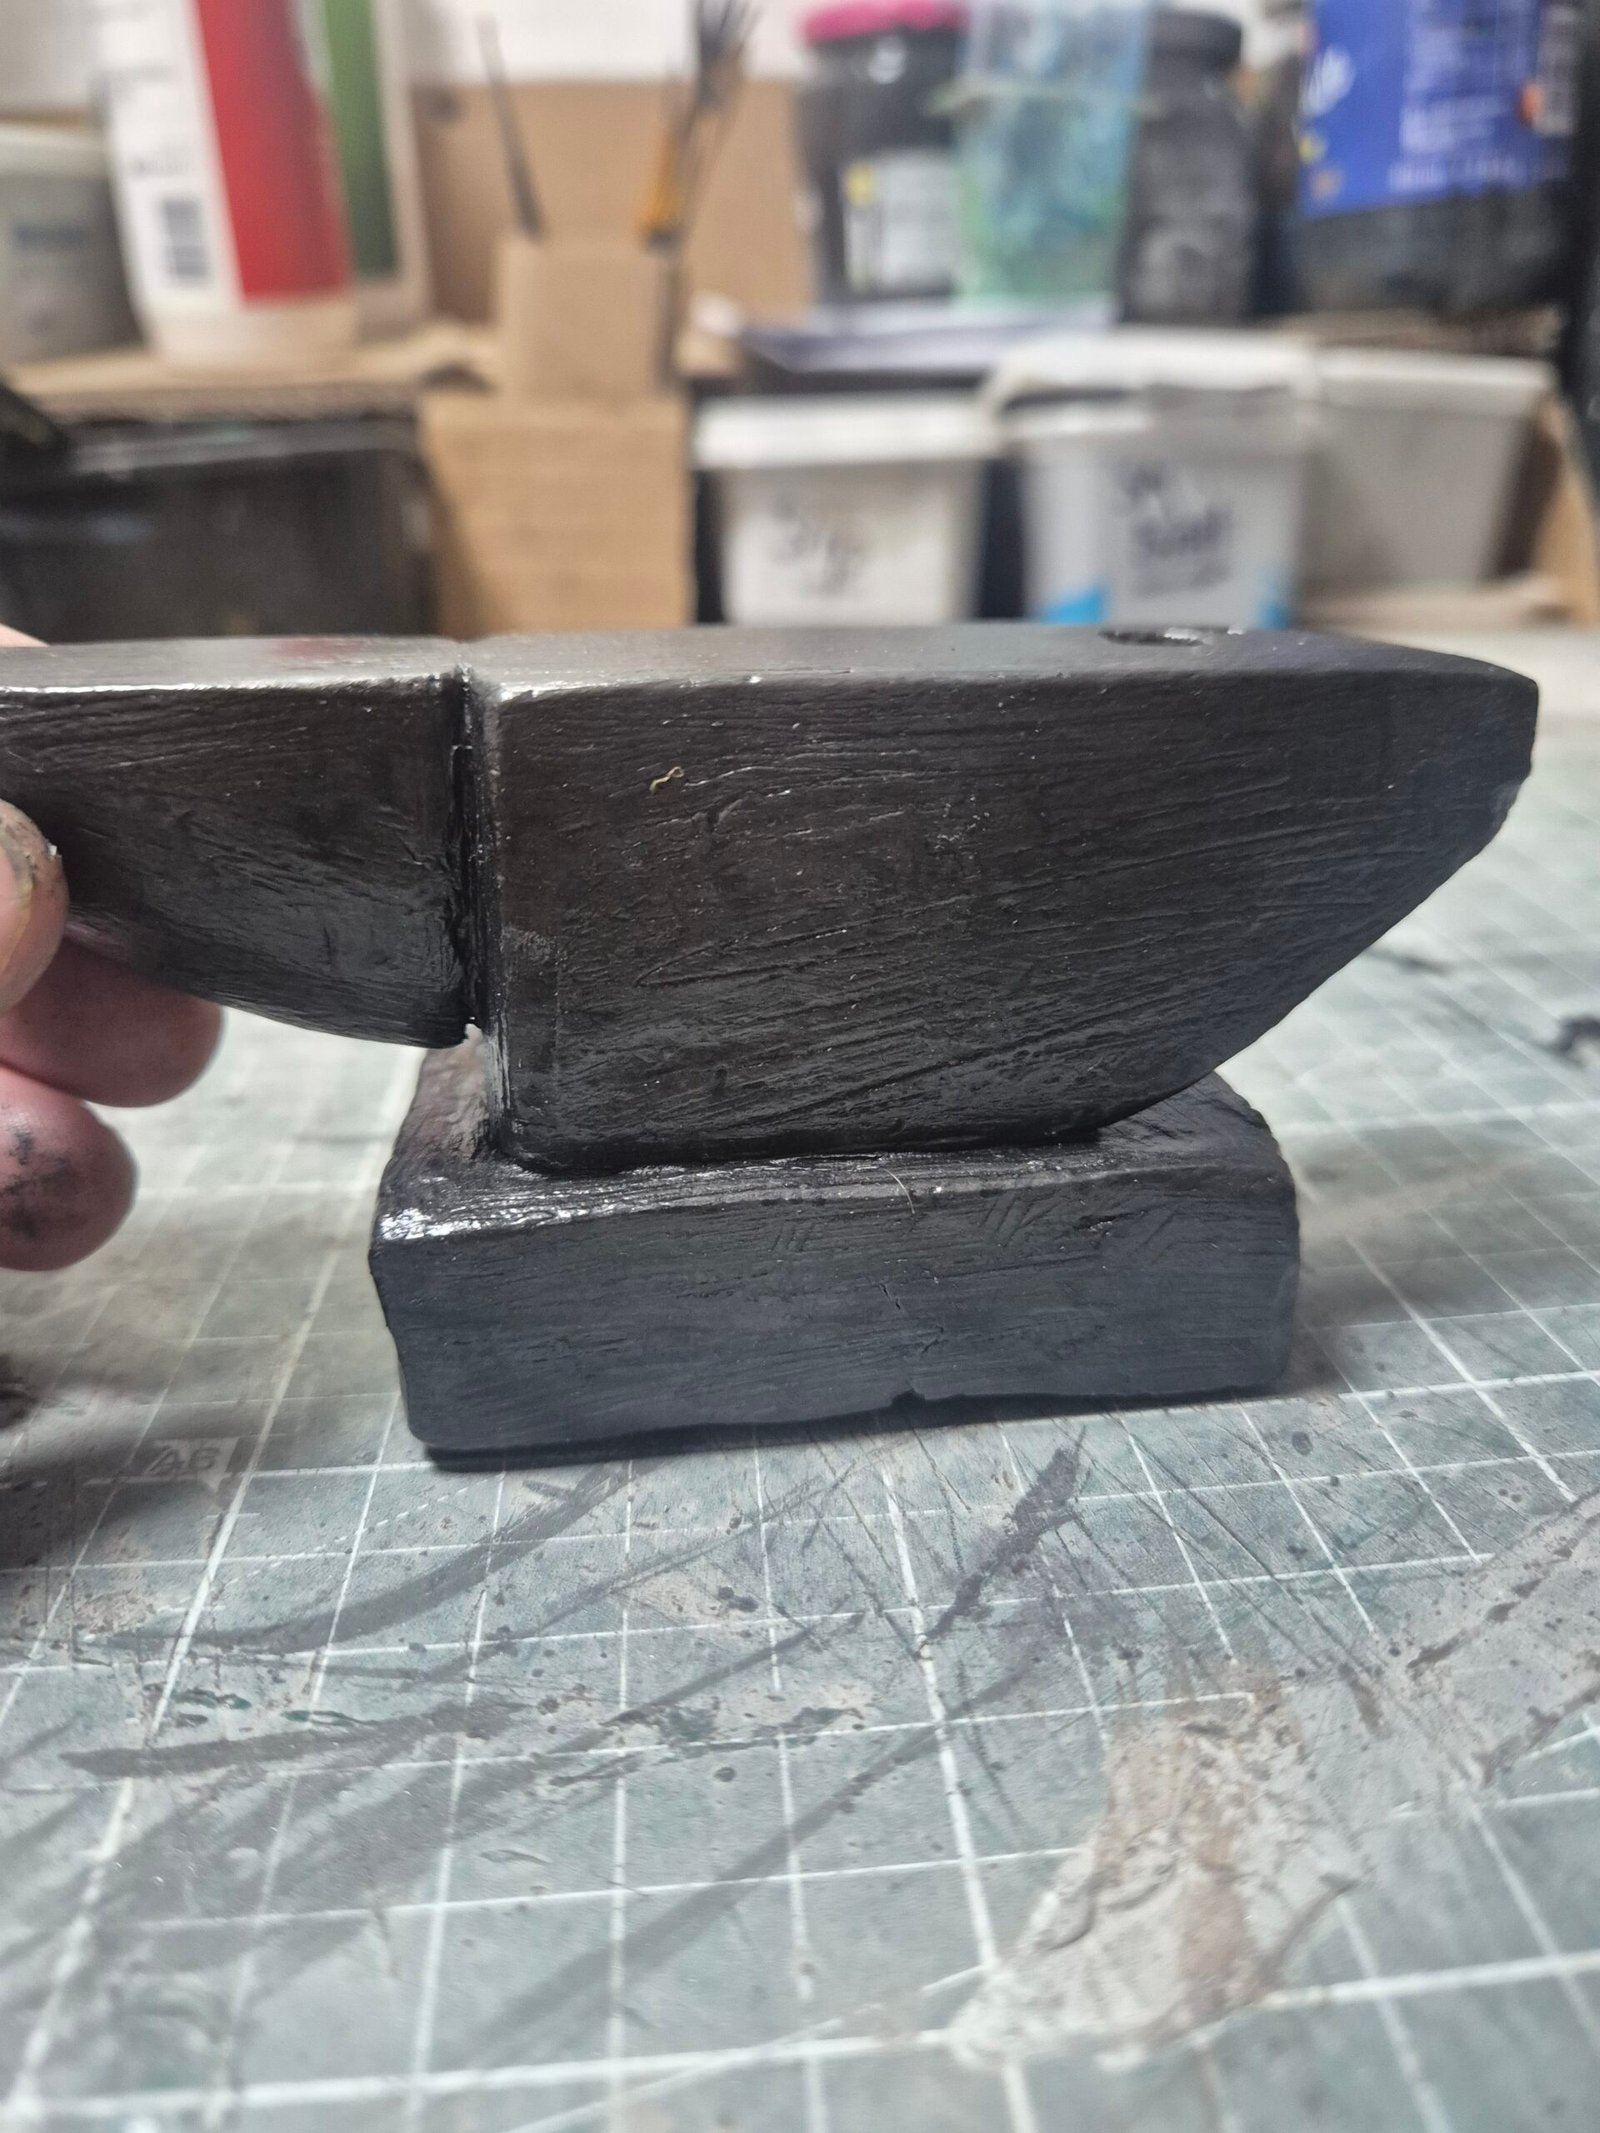
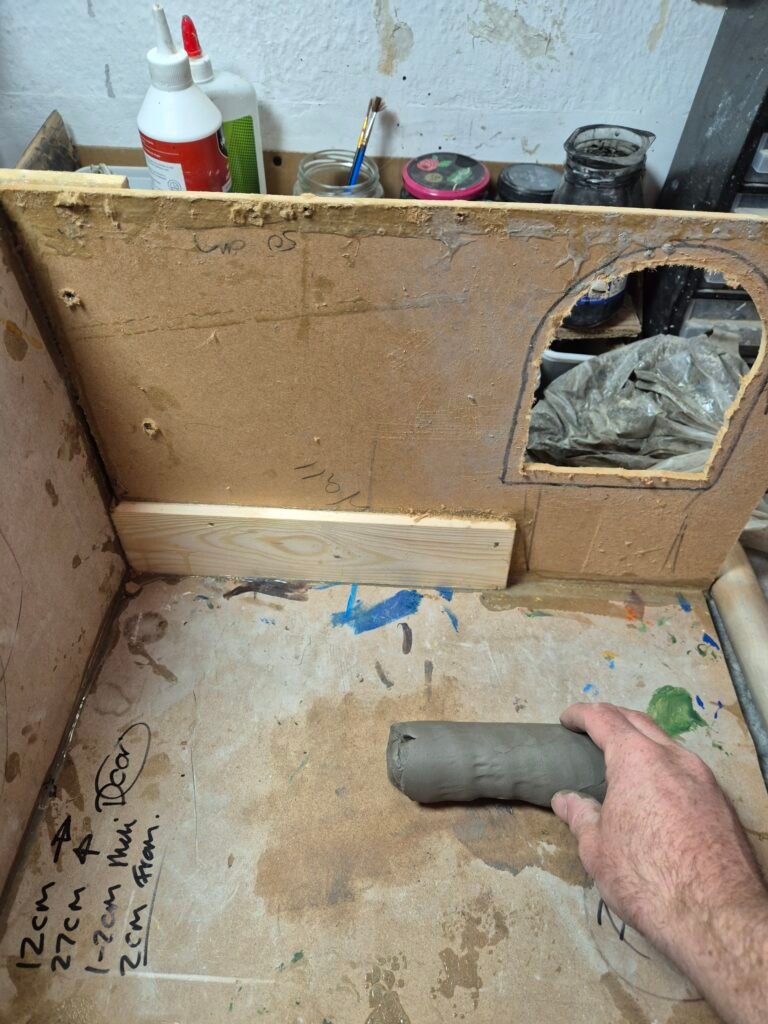
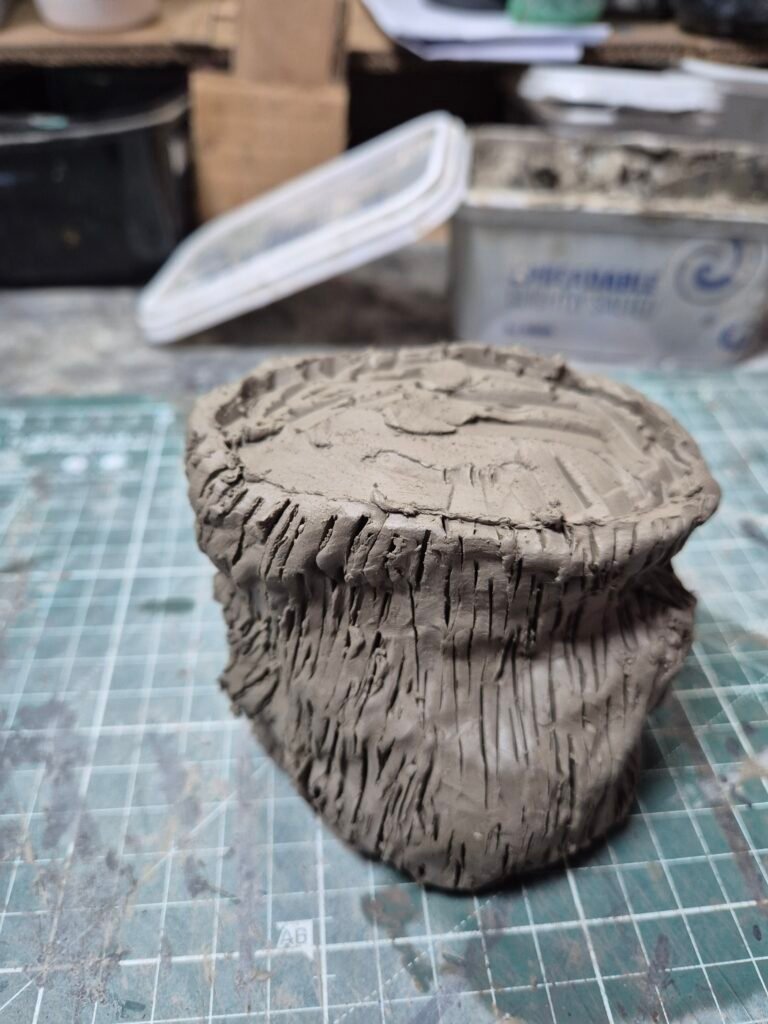
I recently covered the process of creating different shapes from clay, including how to make an anvil and other unusual forms. Once the anvil had dried, it was time to finish the surface and give it a convincing metal appearance.
Once the Model Has Dried
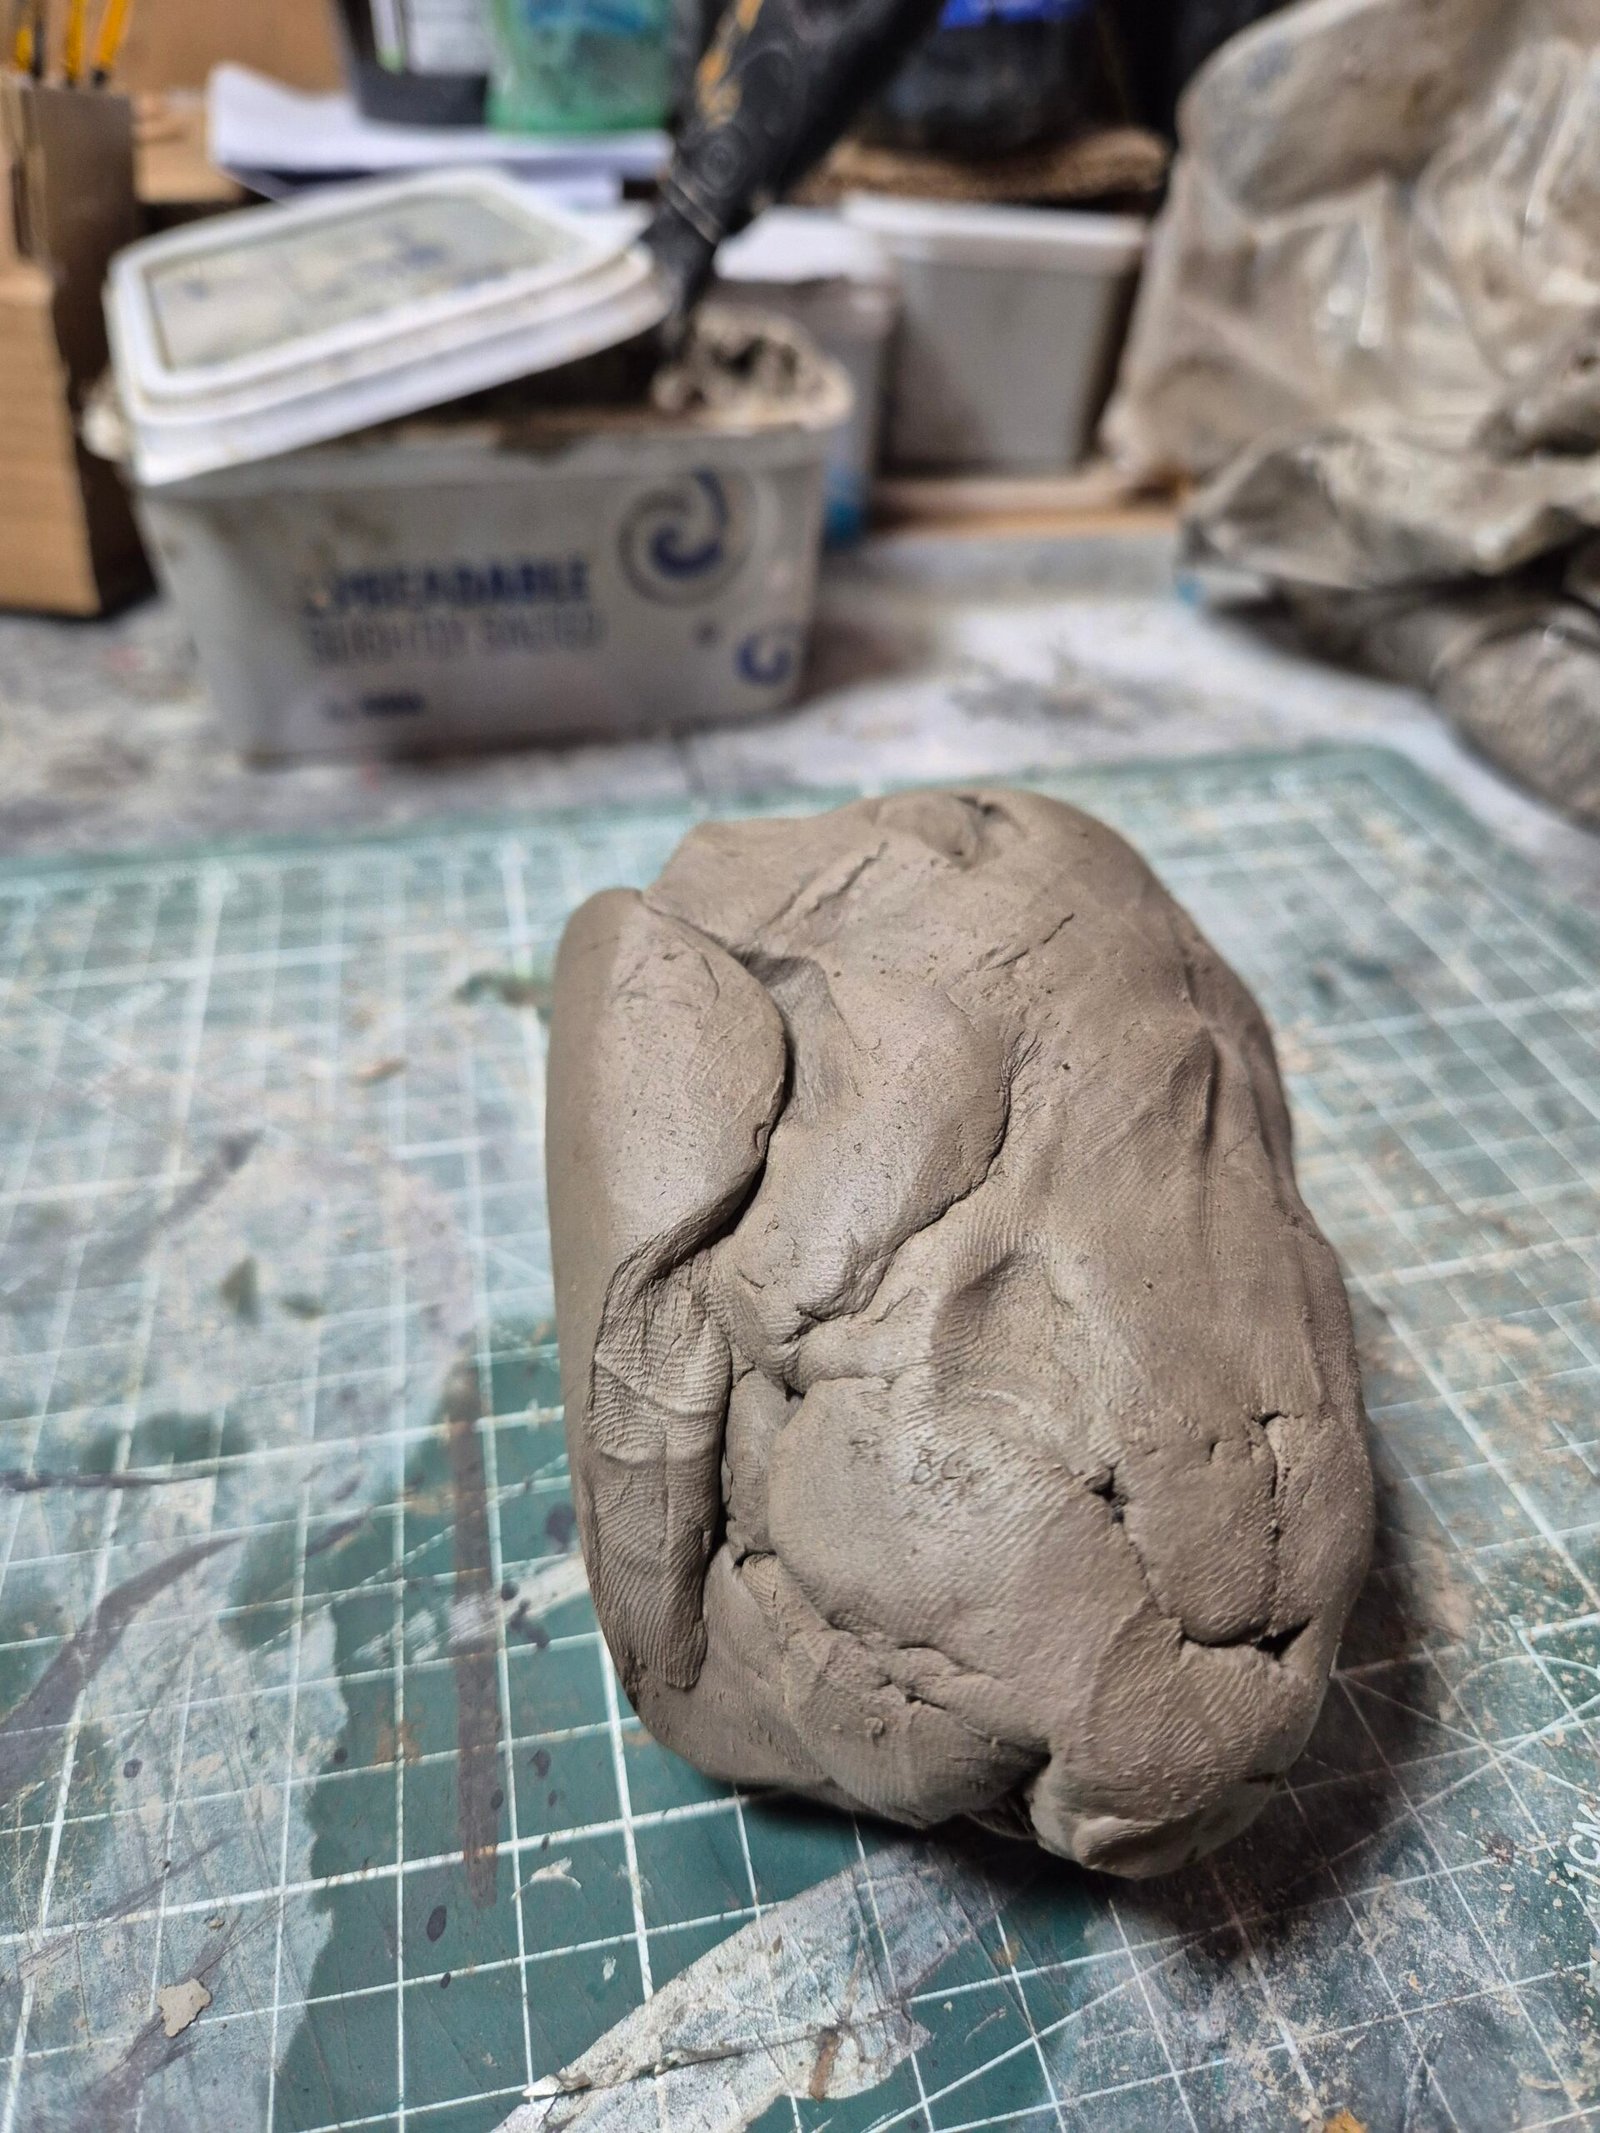
Air-dry clay typically takes around 48–72 hours to fully dry, depending on the room temperature, humidity and thickness of the piece.
Once dry, I gave the anvil a final sand to smooth the surface. Even after drying, air-dry clay can still be worked to add finer scratches, dents and textures. However, it remains quite fragile, so pieces can easily chip or break during this stage.
That’s why sealing and painting the model is so important. A primer or glue seal helps strengthen the surface, while paint and varnish provide additional protection.
Next Time
I have also been working on a polymere clay sword, in the background and In the next post, I’ll be showing you how I paint the polymer clay sword, including the techniques I use to create a convincing metal finish and bring the tiny details to life.