
The Blacksmith Diorama - The Anvil
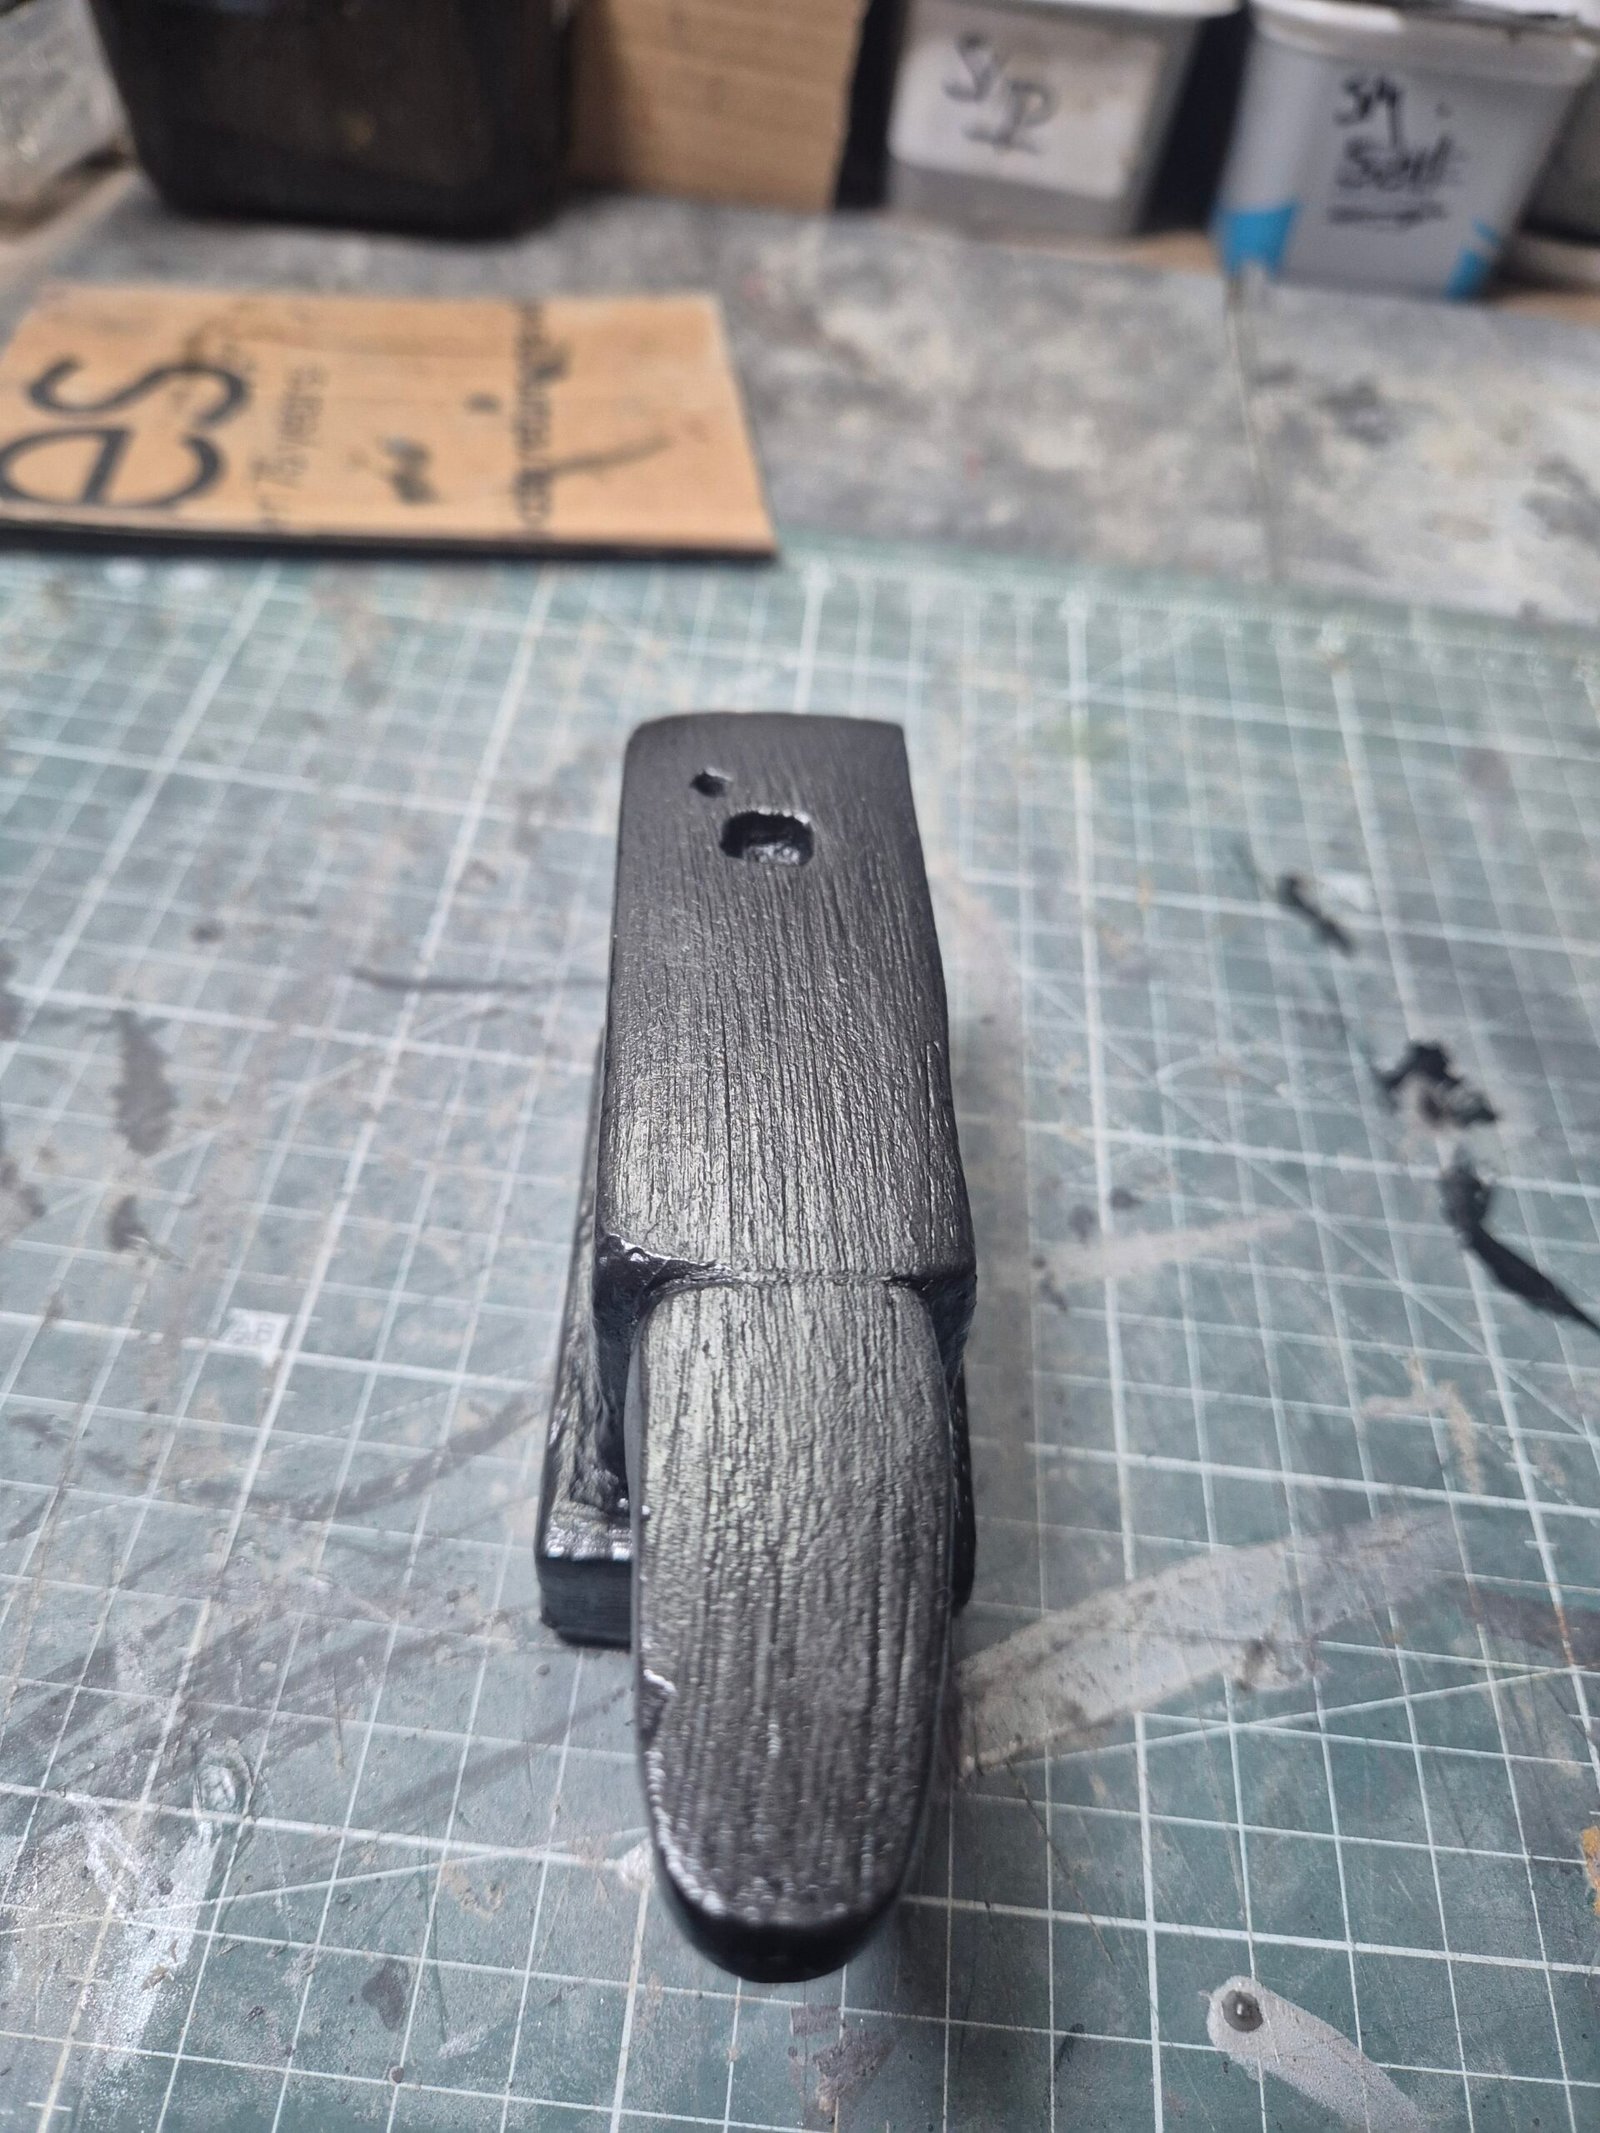
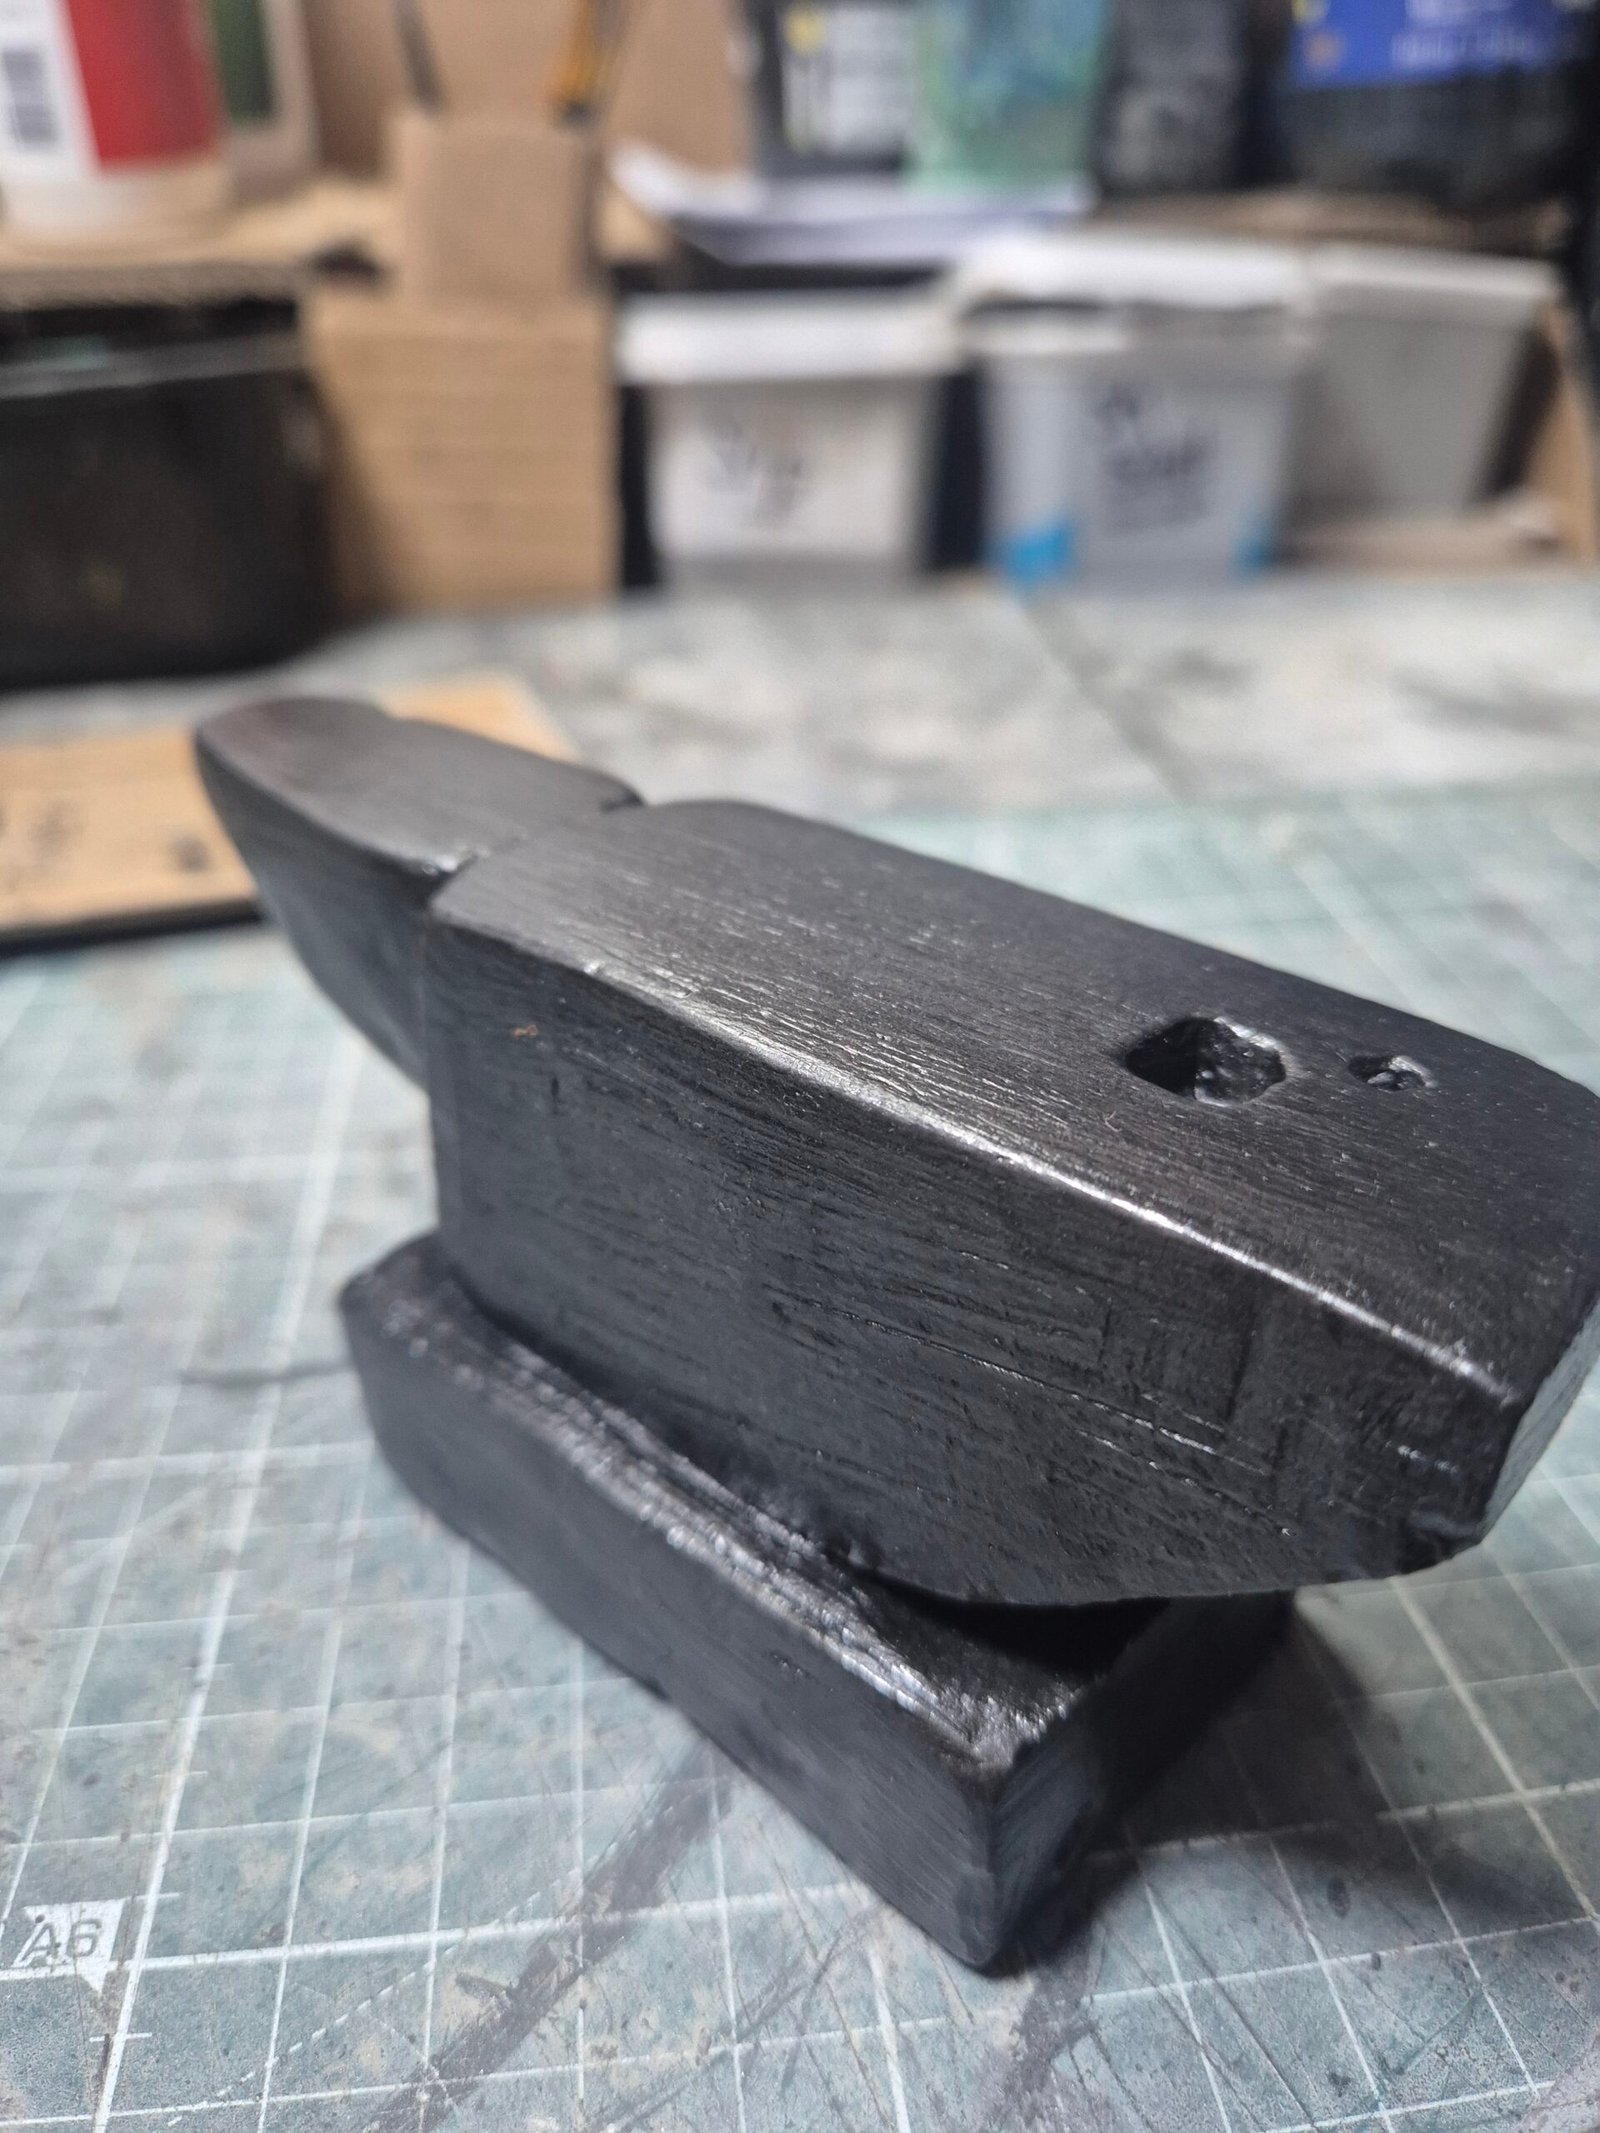
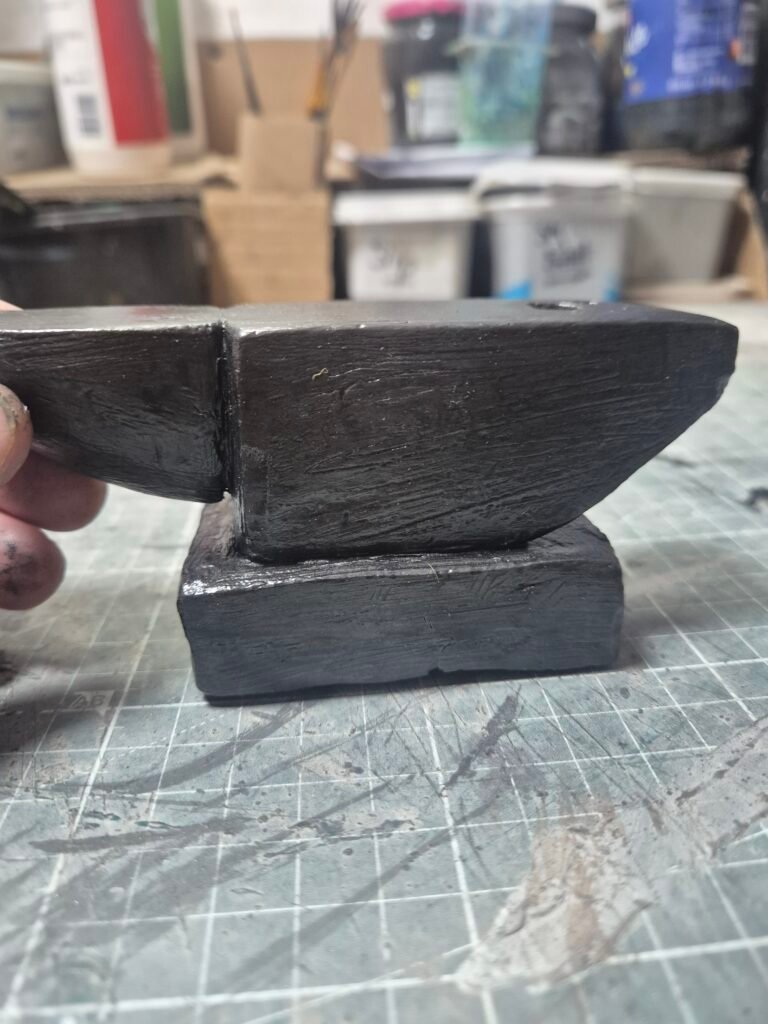
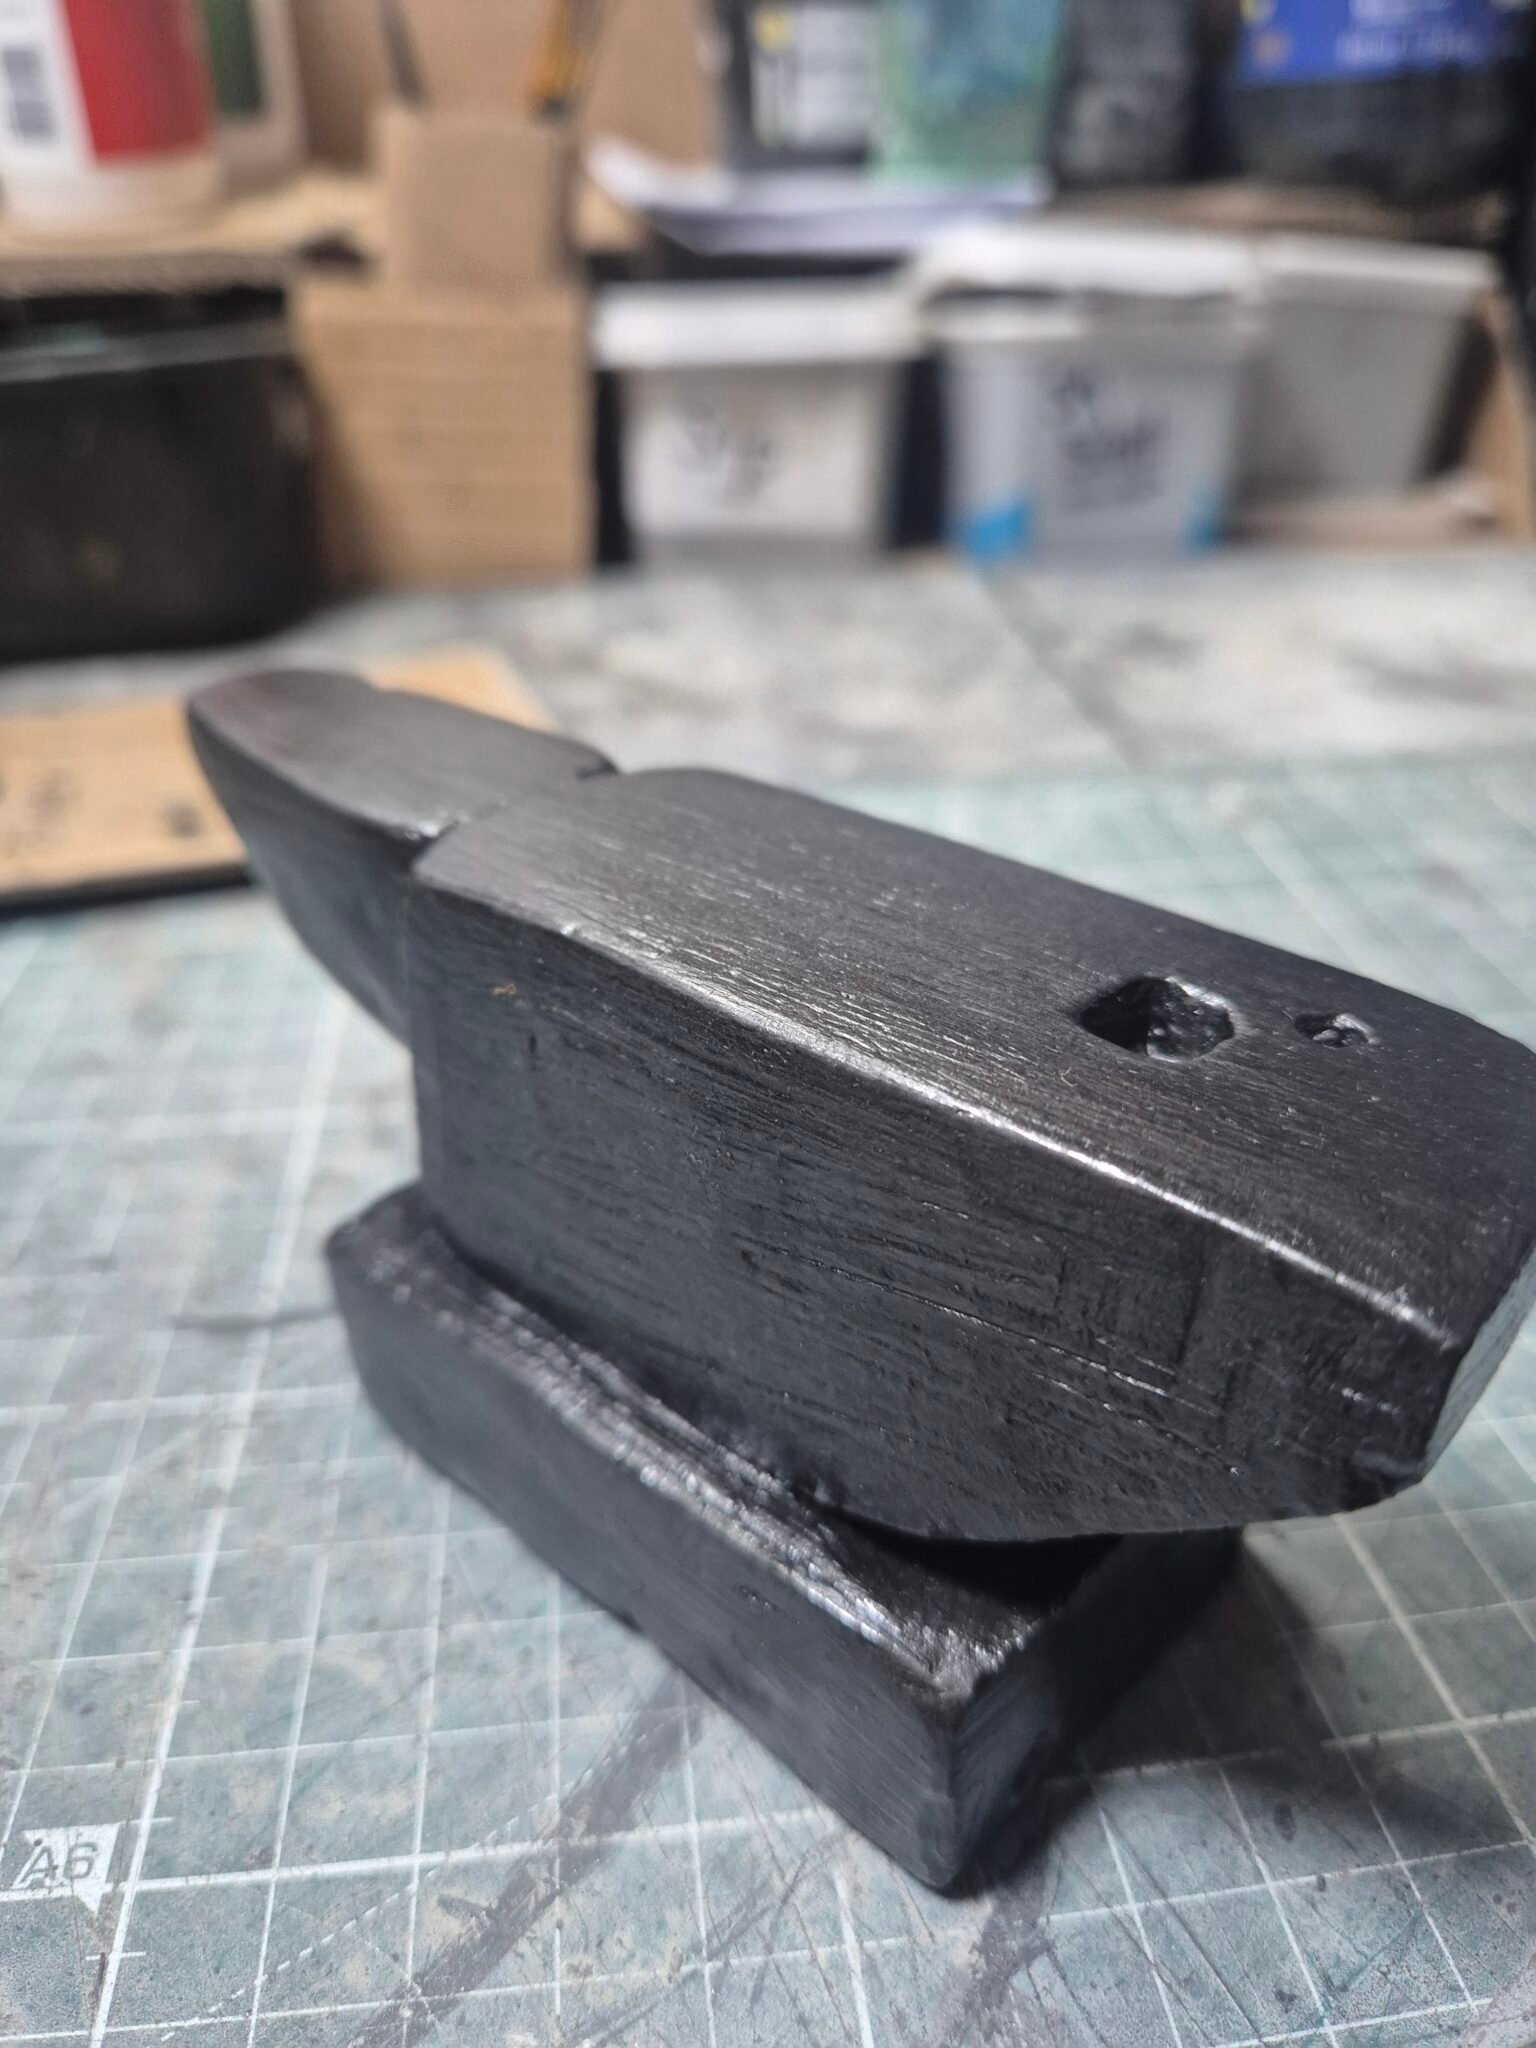
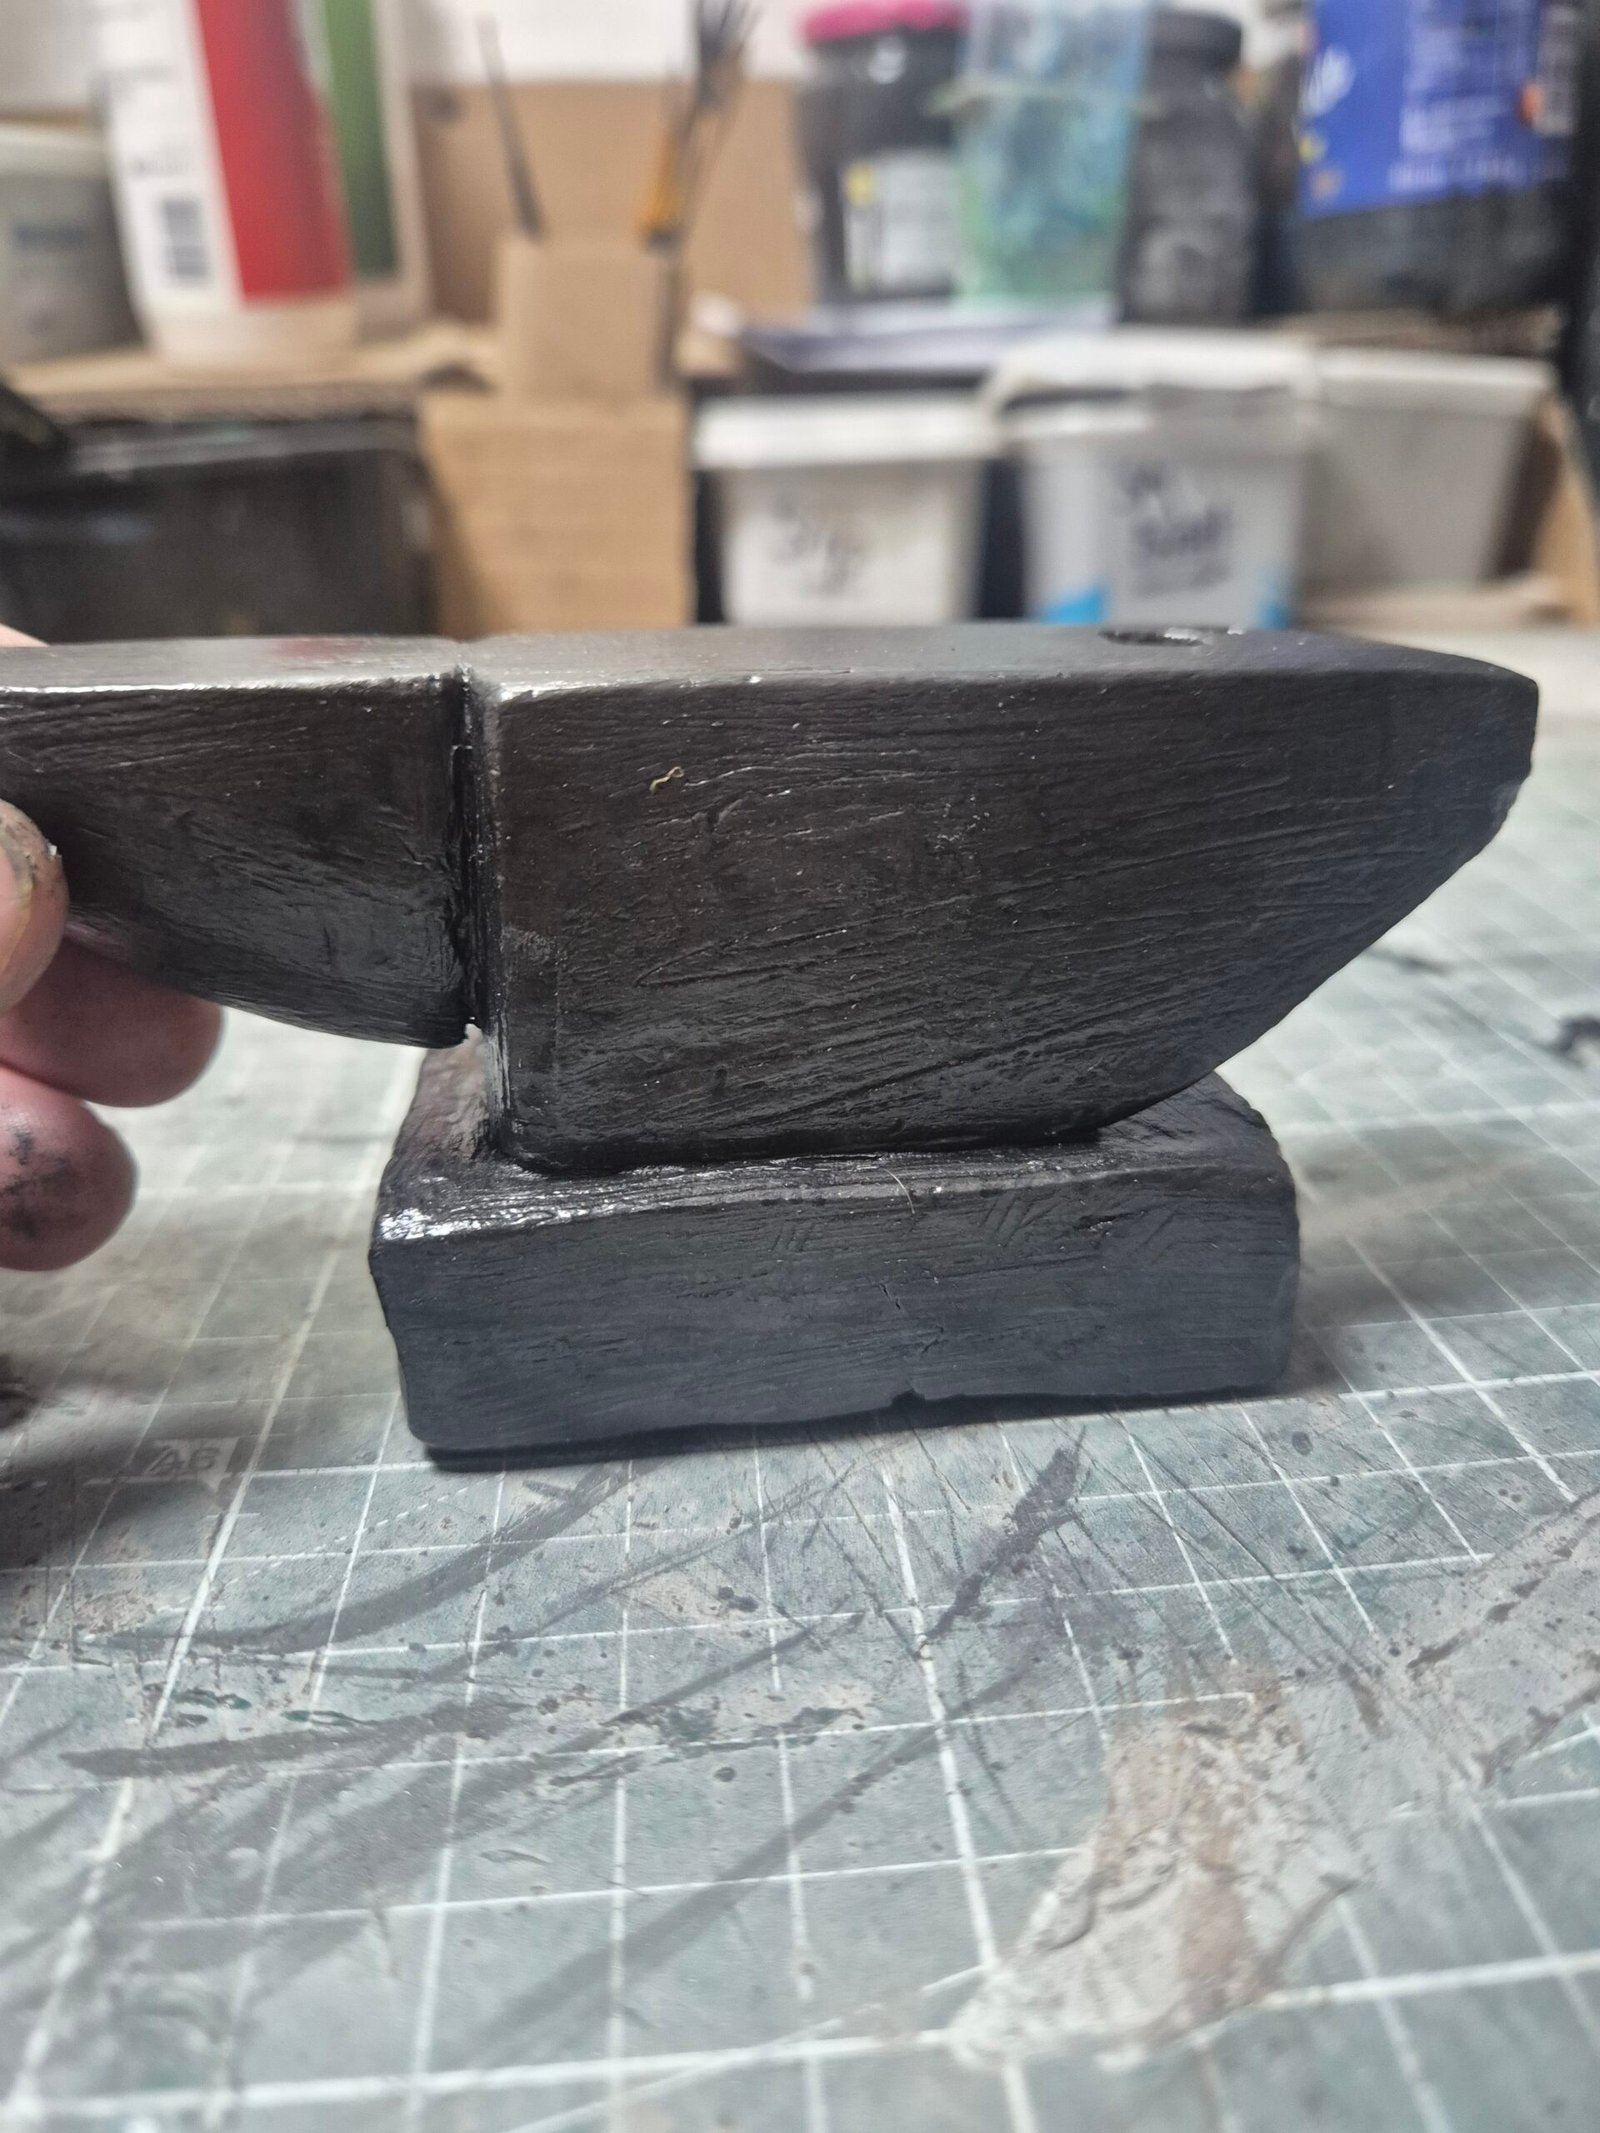
Today, I’ve been sat in my workshop, finishing the 1:6 scale anvil for my blacksmith diorama build.
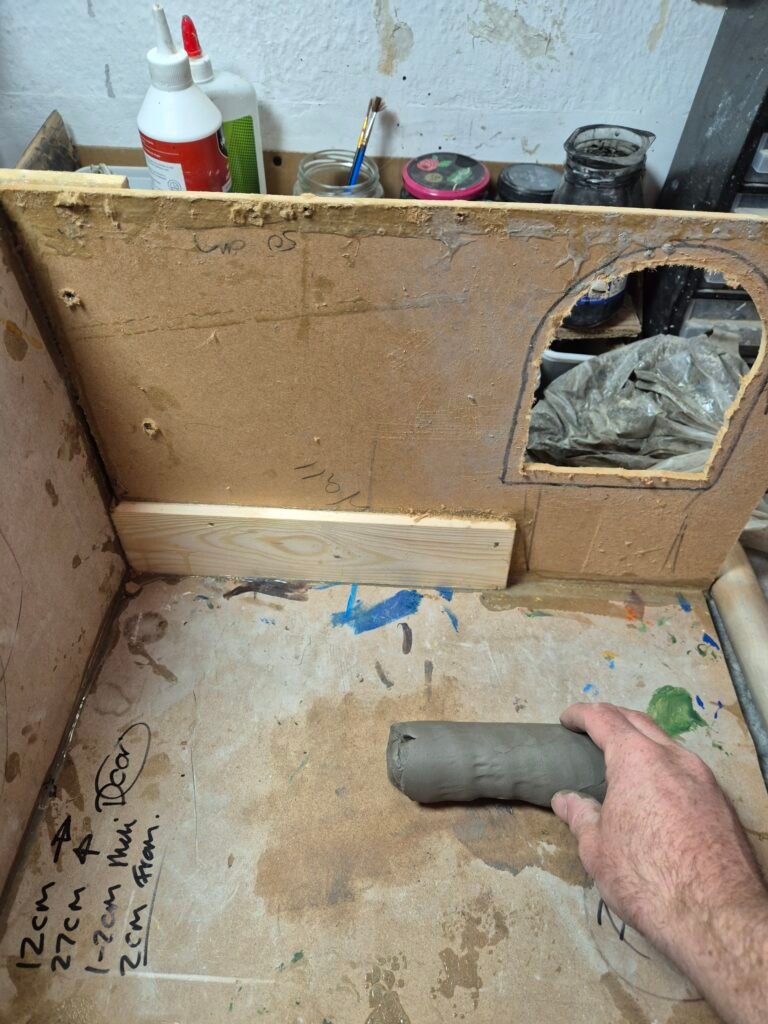
This project helped me realise how to build weird and irregular shapes out of air-dry clay, which isn’t the easiest process. When air-dry clay is very soft, it can be quite difficult to shape and keep the form you want.
But by using my process, and actually using the qualities of air-dry clay to my advantage, I’ve found a good way of making shapes such as an anvil much easier to build.
My 4-Stage Clay Building Process
Stage One — The Basic Shape
Using the clay in its naturally soft form, I make the simple shapes and overall structure of the build.
In this case, this meant getting the anvil into its basic shape.
Stage Two — Adding More Shape
After the first stage of drying, which takes roughly 12–14 hours depending on the temperature of the room, I start adding more shape to the model along with some minor details.
At this point, the clay is still workable, but it has become much firmer and easier to control.
Stage Three — Adding the Fine Details
Once the clay is nearly dry, I move on to the finer details.
I’ve found that these details hold really well at this stage because the clay is firm enough to work with without being completely hard.
Stage Four — Finishing the Build
This is where I finish the actual building process and move on to getting the model ready for painting.
This can involve adding a thin layer of PVA glue to help protect the clay, or using a black primer to prepare the surface for painting.

The Anvil Itself
Overall, I’m quite happy with how the anvil turned out.
Looking back at it now, though, I think the horn could have been a little smaller. After leaving it for a few days and coming back to it, it looks a little chunky compared to the rest of the anvil.
That’s one of the things I like about building these models — you don’t always notice things until you’ve left them for a while and come back with fresh eyes.
Next Time
I’ve already painted and finished the anvil, as you can see in the images, but I’ll go into the painting process in the next post.
And next, I’ll be moving on to the anvil stand.
This one is going to be a tree stump, so I’m looking forward to seeing how that turns out.
This post may contain affiliate links. If you purchase through these links, I may earn a small commission at no extra cost to you.